October 5th, 2013
Swedish Cinnamon Buns
Yesterday was cinnamon bun day in Sweden, and lucky you, I will share my recipe of Swedish cinnamon buns with you. The recipe I am following comes from a Swedish awesome cookbook, that I bet almost every swede have at home (Bonniers stora kokbok).
What You NEED
Ingredients for about 36 buns or 2 braids:
150g unsalted butter (that is approx, 2/3 cups or 11 table spoons of butter) (If you want to be a bit more advanced you can add small pieces of butter at room temperature to the dough, see note in first step below)
1 Tbsp of Cardamom (or more if you are like me and love it, or if you don't like it at all you can exclude it)
2.1 cups of milk, whole, light whatever you prefer (5dl)
½ tsp of salt
0.4 cups of granulated sugar, (I used agave instead, but you need to recalculate how much to use if you use that instead) (1dl) Sometimes I use less than what it calls for cause I don't like when it gets too sweet
1 egg
about 6 ½ tsp of ACTIVE dry yeast, if you use any other dry yeast you will have to adjust accordingly. There are several different types of dry yeast in the US and they need to be prepared differently (or 50g of fresh Swedish yeast)
5.5 - 6.5 cups of flour (14-15dl)
1-2 eggs for coating the buns if you are using pearl sugar, butter if you are coating with granulated sugar
Ingredients, filling:
1/3 cup, or 5.2 tablespoons of unsalted butter (or more if you need) (75g) needs to be room temperature..
0.5 cups of granulated sugar
1.5 Tbsp of cinnamon and/or some cardamom.
You can also use about 1/3 cup, or 5.2 tablespoons of butter and one package of almond paste as the filling. Just remember that the filling has to be really smooth and soft for you to be able to cover the dough with it later.
Making the dough:
Melt the butter in a pot, and add milk, egg, salt, cardamom, and sugar. (Another option is to leave out the butter in this step, and instead add smaller pieces of butter at room temperature while mixing in the flour into the dough. This creates a more moist bun. Some people also say to wait with the salt until later, when you are mixing the dough, but I usually don’t)
Heat the liquid to around 112F (Check the exact temperature on the back of your dry yeast package, for my Active Dry Yeast I use about 112F). Pour the liquid it into a big bowl and add the active dry yeast. Let the yeast sit for a couple of minutes before mixing the liquid and yeast so everything dissolves. I usually use a baking spatula for this.
Add the flour, I usually add about 2 cups at a time, and then I stir with the baking spatula to make sure all flour gets incorporated into the dough. Add another 2 cups and continue until I have a good dough that doesn't stick. (This is the step where you would add small chunks of butter at room temperature and incorporate it to the dough)
Add some extra flower to the dough when you are done mixing, and leave the bowl somewhere warm (and without any draft), cover the dough with a kitchen towel. I usually let it rise for 50-60 minutes, but again this depends on what type of yeast you are using. Another trick is to let the dough grow to doubled size.
During this time you can make the filling.
Ingredients, filling:
1/3 cup, or 5.2 tablespoons of unsalted butter (or more if you need) (75g) needs to be room temperature..
0.5 cups of granulated sugar
1.5 Tbsp of cinnamon and/or some cardamom.
You can also use about 1/3 cup, or 5.2 tablespoons of unsalted butter and one package of almond paste (250g) as the filling. Just remember that the filling has to be really smooth for you to be able to cover the dough with it later. Some people also like to add their favorite jam to this filling.
Mix it all together in a small bowl and set aside for later.
Making the Cinnamon Buns:
Add flour to your working surface, turn the bowl upside down and use spatula to get all the dough out on the table. Work the dough a little bit, to make sure the dough is elastic and you have pushed out all extra air bubbles.
Cut the dough in half. It’s easier to work with one small piece at a time. You will get about 18 buns per piece. Make sure you have enough flour under the bun and use a rolling pin to roll out the dough. Keep turning the dough, by lifting it up and turning upside down. When I have a larger rectangle, not too thin, its time to add the filling.
I use a baking spatula to distribute all the filling over the dough. Now you will also discover if you need to make more filling for the next piece of dough or if you made enough. For some reason I always need to make more...
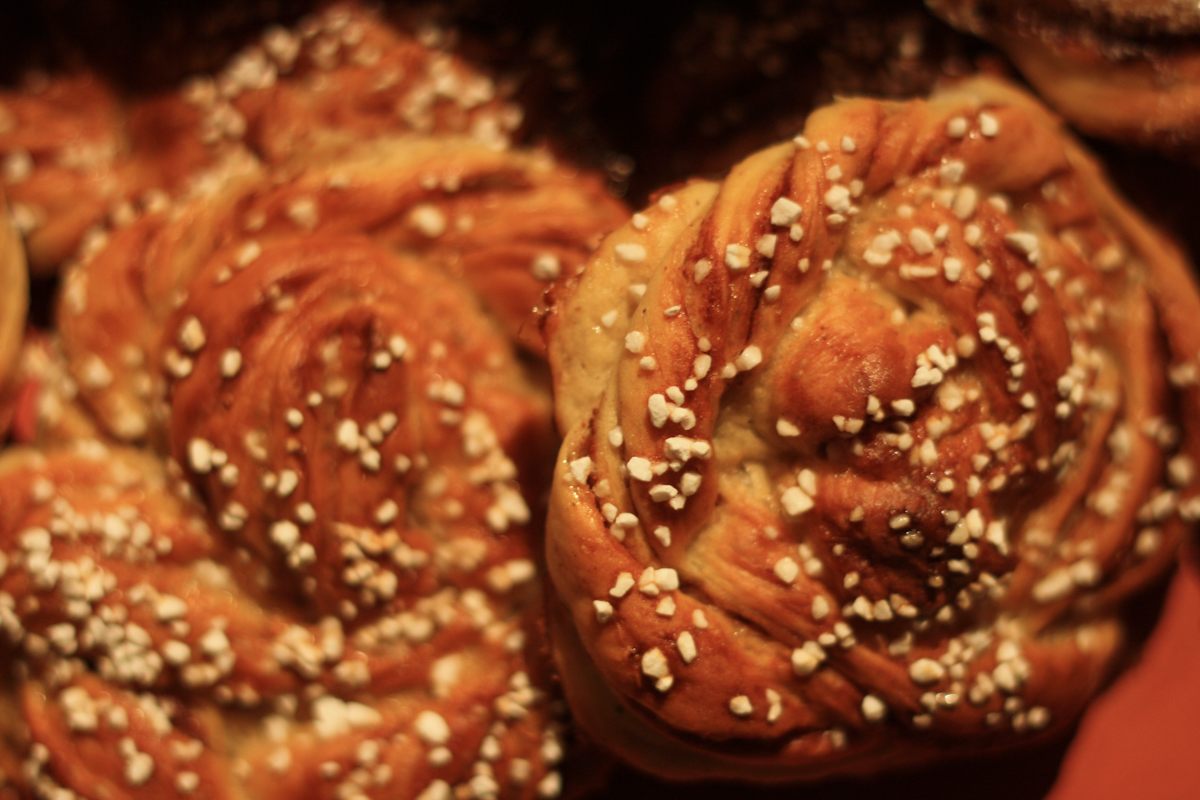
From here you can create lots of different buns in different shapes. A popular one is to start rolling, the longer side, until you have a large roll. After that you would take a knife and cut around 0.8 inch pieces, and put the pieces in baking cups on a baking sheet. Ending up with about 18 buns.
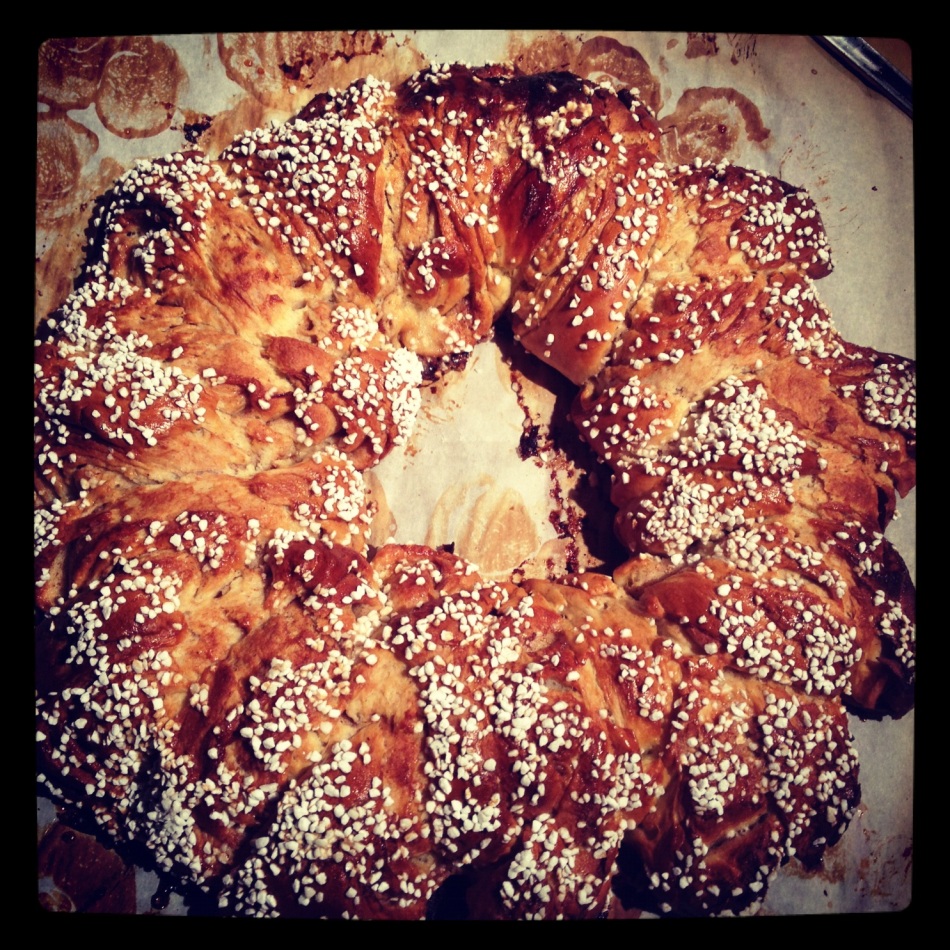
You can also cut the roll slightly diagonally with a scissor at about 0.8 inches apart (or wider), not the whole way through, and then alternate the pieces to the left and right. This will make it look like a braid. You can also make the braid into a classic circle shape. The braid can also be made by cutting long pieces of the rolled up dough (length wise) and then just braid those pieces.
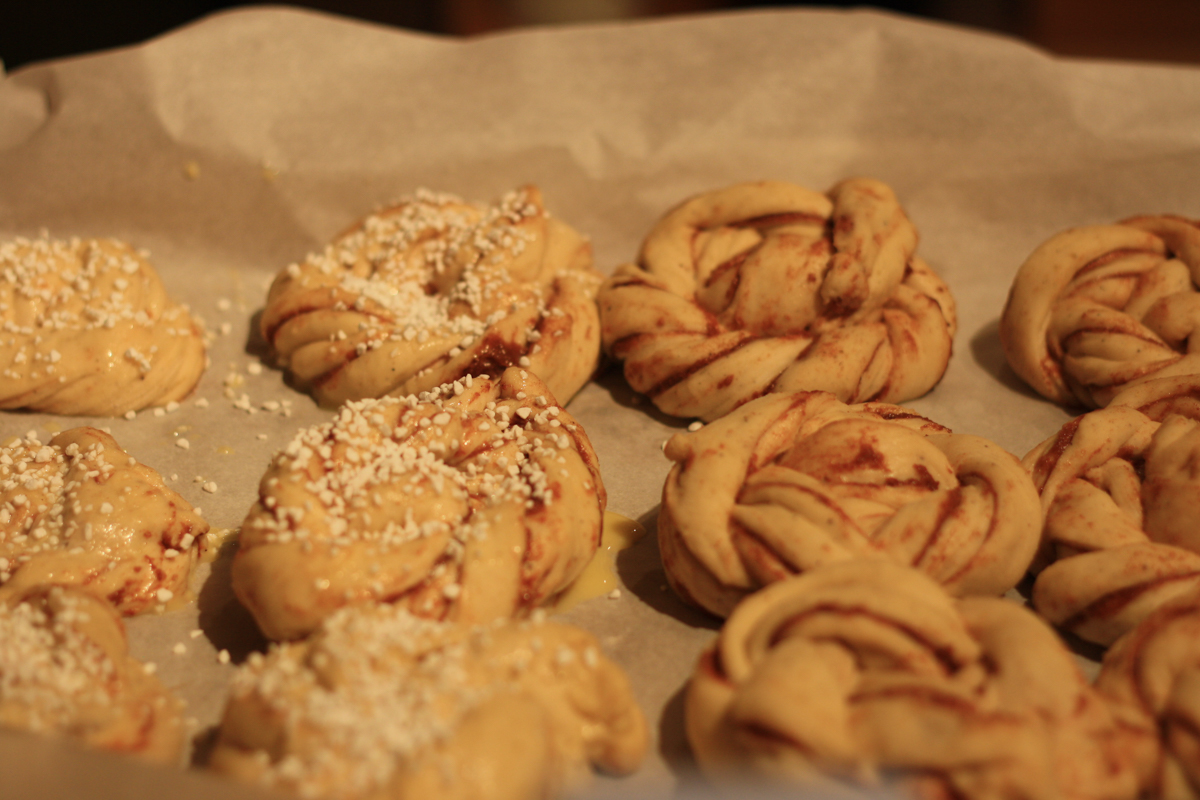
Another way is to fold the whole dough once (after you added all the filling), so you will end up with half a rectangle. Then you cut about 18 pieces out of it. Cut those pieces again, but this time not the whole way through. You will end up with something that resembles 18 pair of pants. Take these and carefully stretch them out, at the same time as you twist them. See picture below. You could either make a knot with the twisted pants, or roll them up as a bun. Just remember to tuck in the ends under the bun, so it doesn’t roll out while rising or baking later. Do the same thing with the second piece of dough.
Let the buns rest/rise a second time, for about 40 minutes under a towel in a warm place (without any draft), before putting them into the oven. Meanwhile you could turn your stove on, especially if it takes a while for it to warm up. The buns should bake at about 480 ℉ (250℃) (425F-480F depending on your oven). If you are making the braids they should bake at 392℉ (200℃) at the lover level of the oven. Also, a side note, if you have a gas oven it is likely that your buns can get burned underneath. I usually use two baking sheets to protect the buns, or a really high quality baking sheet.
After 40 minutes its time to prepare the buns for the oven. If you have pearl sugar (large pearls o sugar) take an egg and add a little bit of water. Coat the buns with the egg and pour pearl sugar over. If you want granulated sugar to coat the buns, just put the buns in as they are. The traditional buns should bake for about 8-10 minutes. The braids need about 20-25 minutes to bake. You can find pearl sugar in many stores here in the US nowadays, try for instance Woodmans in the mid west, Fred Meyers in the West or any other random local store. Go to the international section, you’d be surprised of how many Swedish products you actually can find in random places.
To add granulated sugar to the buns, coat them with melted butter once they are out of the oven, and dip them in granulated sugar. After that, eat and enjoy.
Step 1 through 2:
Step 3:
Step 4:
Step 5, the braids:
