Posts filed under Recipes

RECIPE: Gluten Free Blueberry Meringue Pie

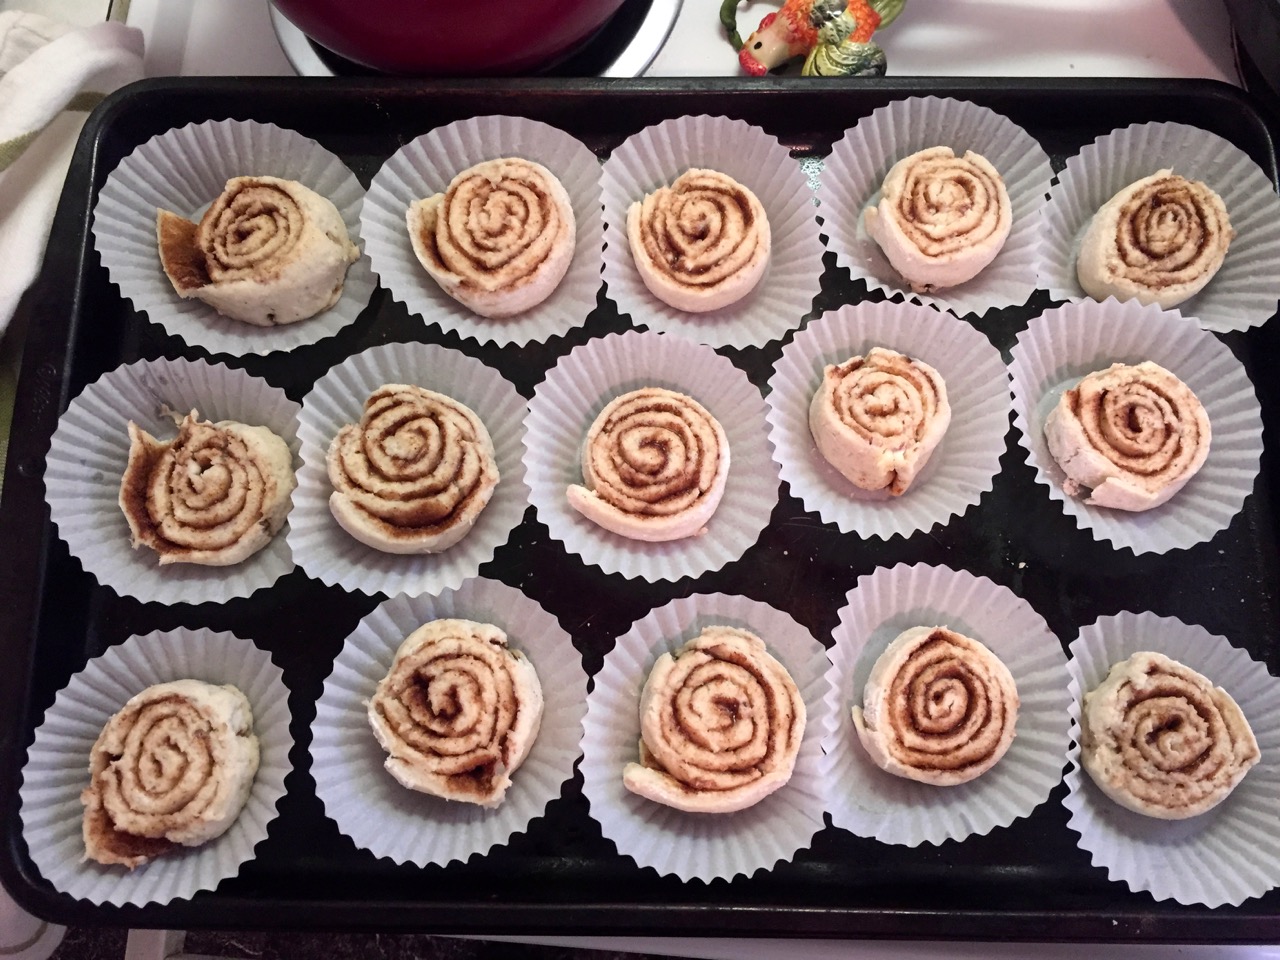
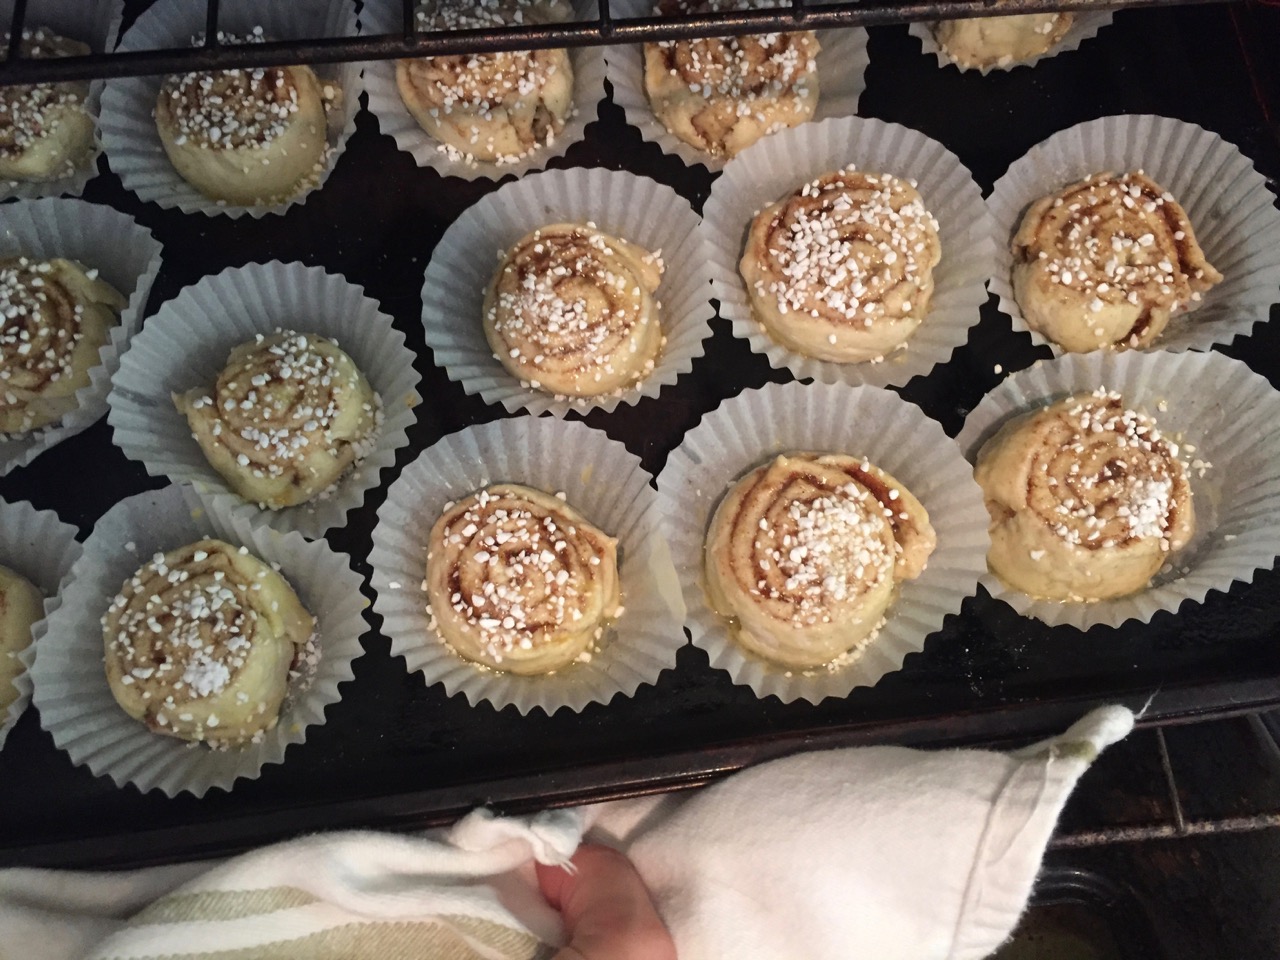
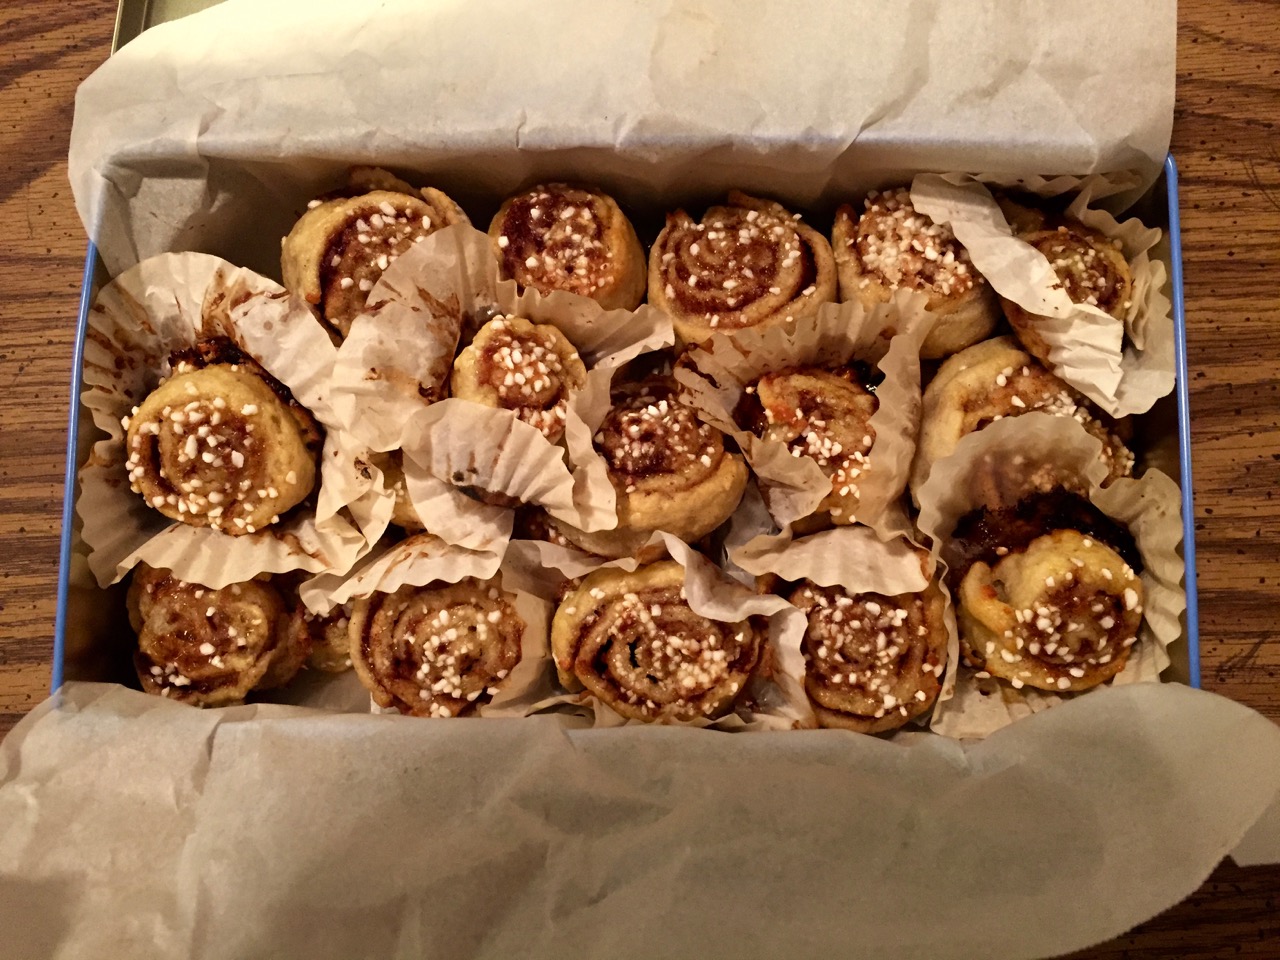
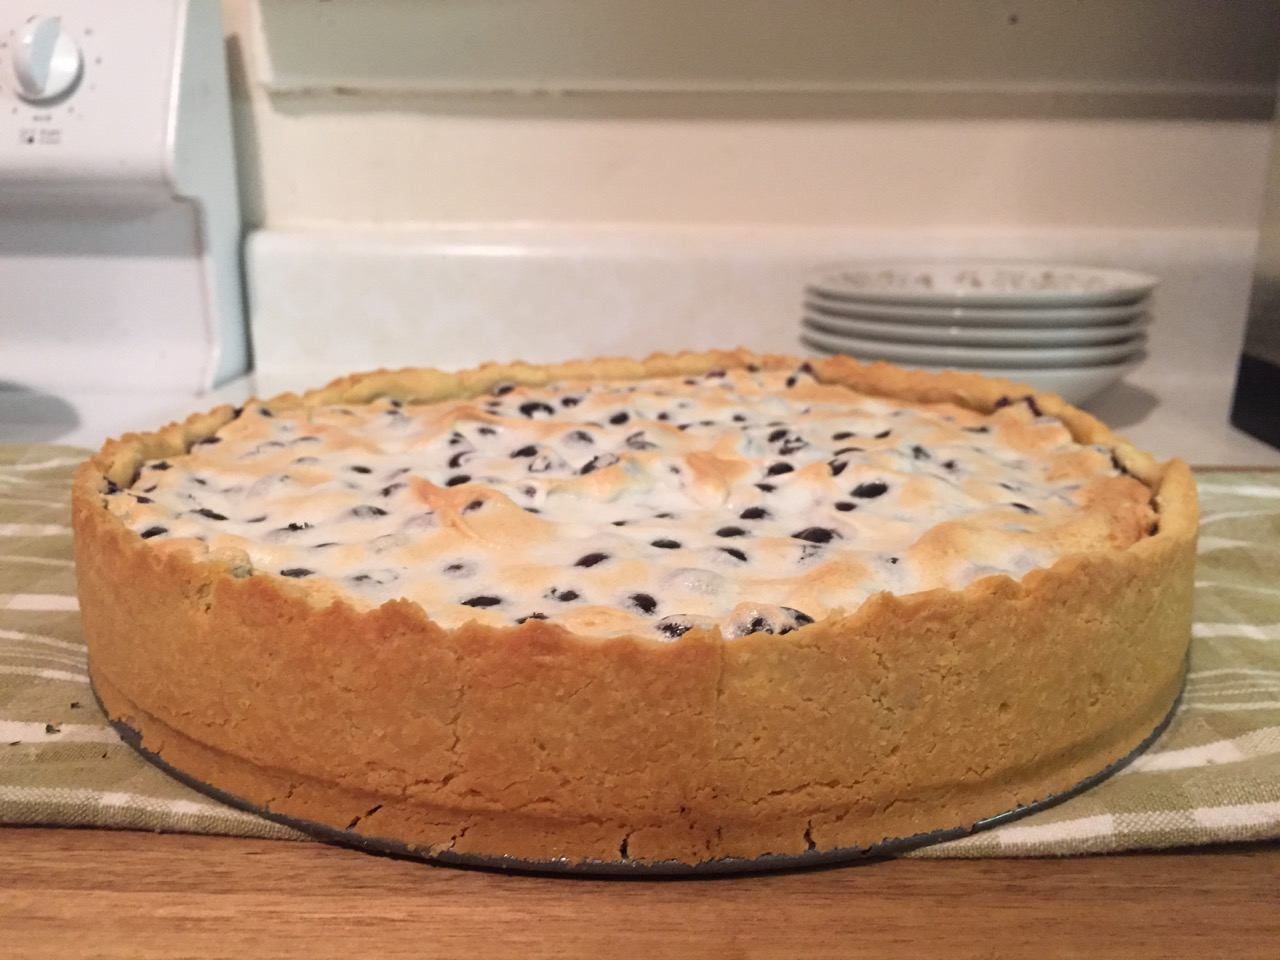
I have not done a lot of gluten free baking, but I thought I should share some baked goods I made recently, gluten free. I have already posted the recipe for cinnamon buns HERE. My mom had been talking about a blueberry pie she had been making lately, and said it was really tasty. Now, unfortunately I don't have the same blueberries here as in Alaska. I know, bummer, like big BUMMER! I went to the store and bought blueberries (breaks my heart). I have to say though that I was positively surprised, they actually were pretty tasty, however, not even close to the wild ones, the arctic/boreal ones. For this recipe I just exchanged the regular flour with the Namaste Perfect Flour Blend and almond flour.

When I make a piecrust I usually take out the butter and let it sit for a little bit on the counter so it's easier to mix it with the flour. 

This recipe only has 7 ingredients, including two different types of flours, I know, AMAZING! 

Gluten Free Blueberry Meringue Pie

Pie Crust

  • 150 g butter  
  • 2 ½ dl Namaste Perfect Flour Blend (more if the dough feels to loose)
  • 2 dl Almond Flour (more if the dough feels to loose)
  • pinch of salt
  • 3 egg yolks (SAVE the whites for the meringue)

Meringue filling

  • 3 egg whites
  • 1 dl sugar
  • 1 L blueberries

Set the oven temperature to 430-440 ℉ (220-225 ℃).

Mix the two different flour mixes and a pinch of salt. Add the butter in pieces and the egg yolks and either mix it by hand or with a food processor. Take the dough and press it out in a springform or pie pan. Try to make it equally thin all over and make sure you have about 3-5 cm of crust up the sides. 

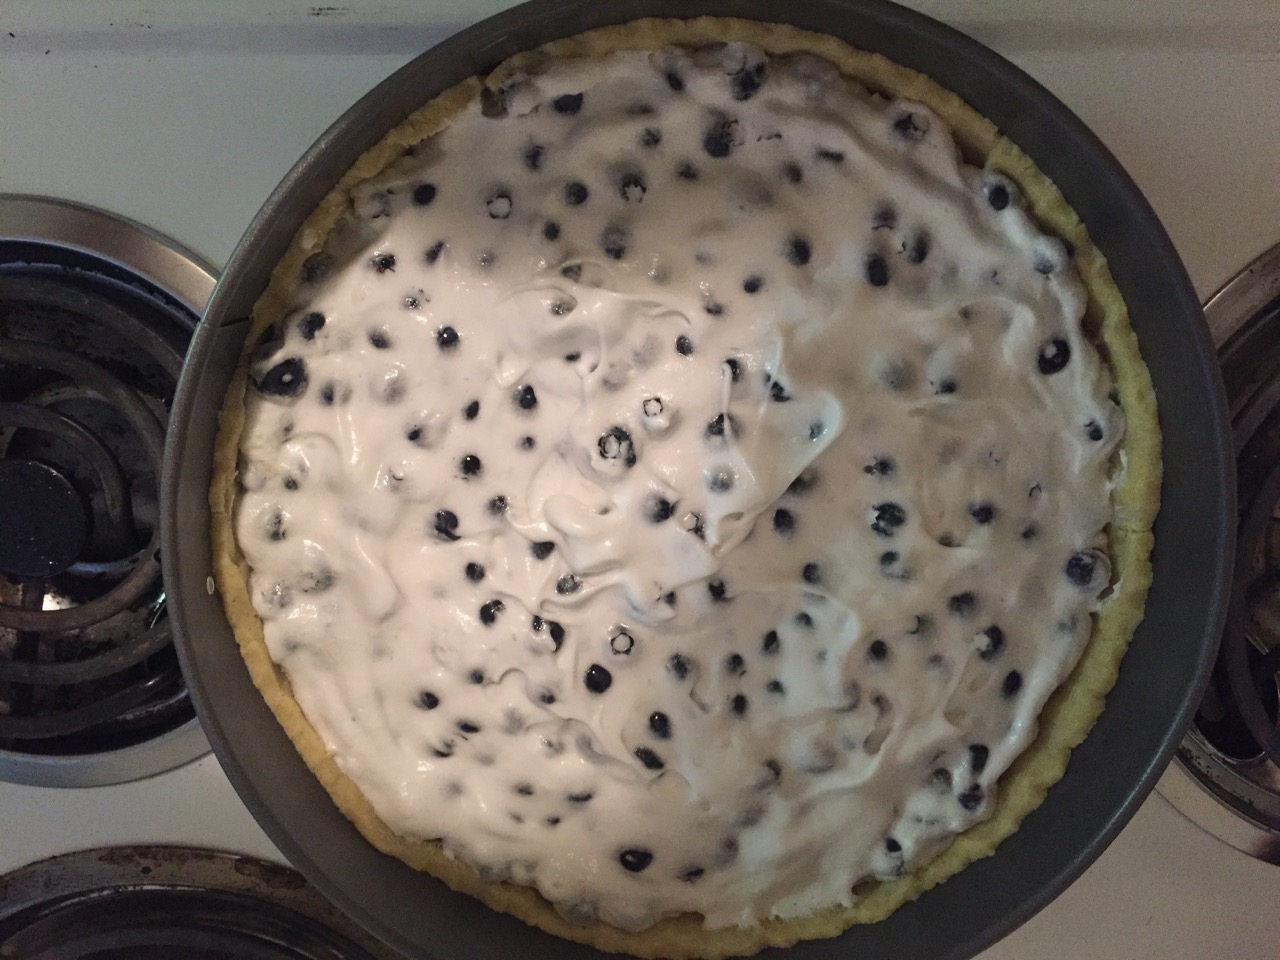
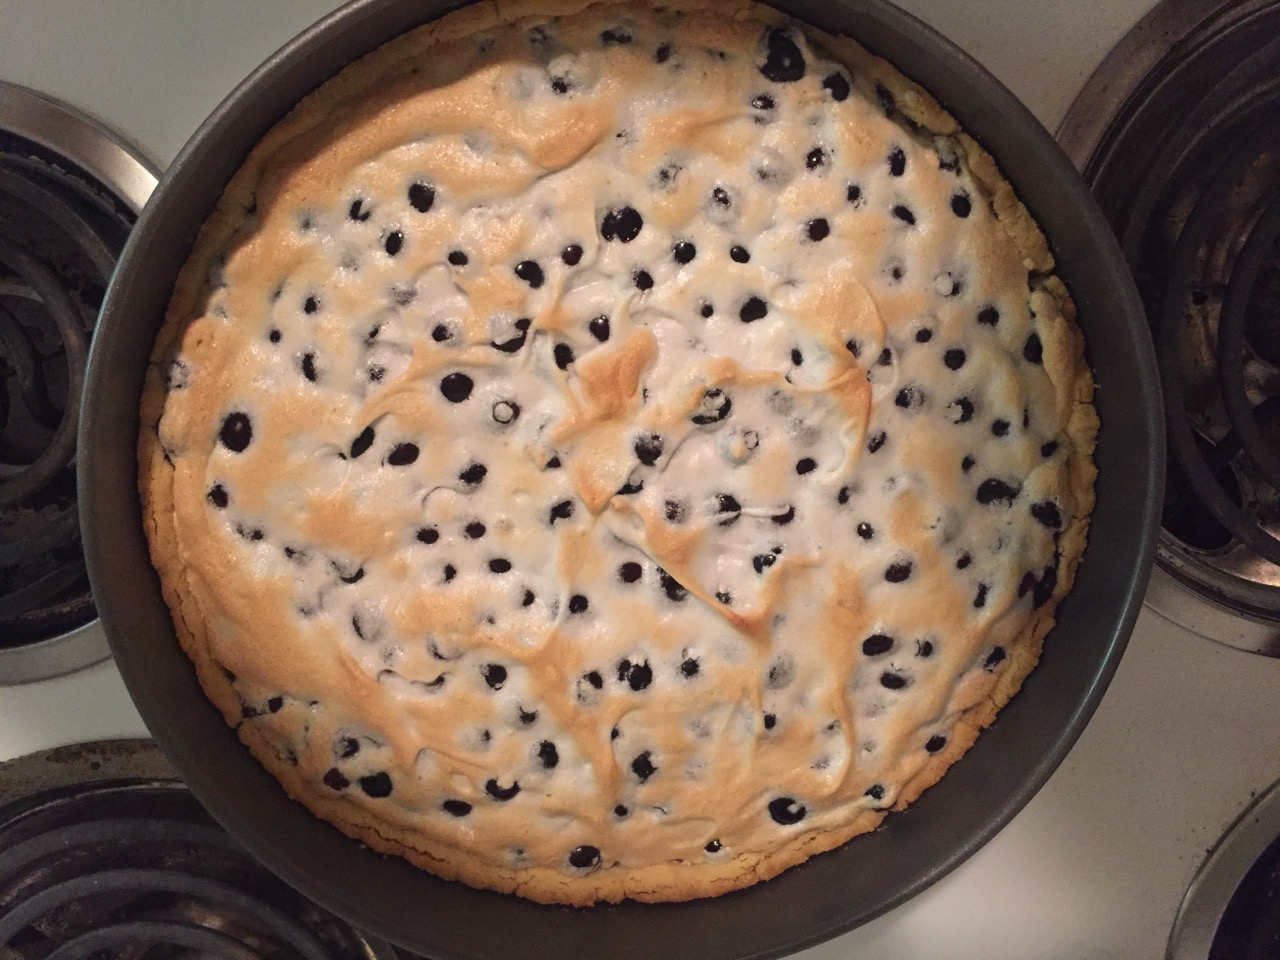
Bake the pie crust in the oven (430-440 ℉ (220-225 ℃)) for about 10 minutes. While you are baking the pie crust, whisk the egg whites hard. You should be able to turn the bowl upside down without loosing any of your egg whites. Add the sugar and whisk for a couple more minutes. Add the blueberries to the mix and transfer it into the piecrust. Bake for about 10-15 minutes until the meringue has gotten some color. Turn off the oven and let the pie sit in the oven for a few more minutes. 

Pretty easy eh, and the crust is completely gluten free!

RECIPE: Gluten Free Swedish Cinnamon Buns

Last christmas I made gluten free products for the first time in my life, and as an avid baker I have to say it was challenging. But, I am not the one who give up that easy. My mother in law is allergic to gluten, which is why I have started to experiment in the gluten free world. (If you want o make the cinnamon buns WITH gluten you can find the recipe HERE!)There are many Swedish treats that have been converted into gluten-free goodies, using specific Swedish brand gluten-free flour. There is a jungle out there with gluten free products, and it just keep growing. There are a certain must haves in the flour mix which I think most brand have for instance xhantan gum and some type of starch. Usually when you bake wheat products, the gluten is what is broken apart when adding yeast (along with other things, like starch), and therefore the typical dough with those visible threads that makes the dough so elastic wont form.

Personally I feel like it's a hit or miss when it comes to gluten free baking, and I have yet to absolutely succeed, if there really is a magnificent mix that will mimic the wheat flour and it's specific molecules and characteristics that creates the rising of the dough.

I have seen many Swedish recipes calling for specific brand names, that I can not find in the US, because they are Swedish, or from some other european country. We do have lots of flour mixes here in the states, but they don't always seem to have the same ingredients. In Sweden some gluten free mixes seem to be similar to what we have here, but many of the mixes do have a tiny bit of gluten in it, so in theory they are not gluten free. 

Either way, I went to the store (no actually W went to the store... :)) and bought the Namaste brand Perfect Flour Blend, and some almond flour. Namaste flour blend mainly consist of rice flour. Now, these flour mixes are so expensive, and if I knew how much of of each ingredient to use, I would probably make my own flour mix, but I didn't have time for that now. I found a cinnamon bun recipe HERE. They used THIS flour mix but you could also use THIS

Gluten Free Swedish Cinnamon Buns

  • 100 g butter

  • 5 dl milk (or water) I used milk

  • 50 g yeast, which is equal to about 4 - 6 ½ teaspoons of active dry yeast that you usually buy in the US

  • 1 dl sugar (I always use agave syrup when I make baked goods)

  • ½ tsp salt

  • Cardamom, I use a lot!

  • 14 dl Lailas blå or 12 dl Lailas gul Mjölmix is what they called for but this is where I used the Namaste flour mix, and some almond flour. To be honest I can't remember exactly how much of each I used, but I think it was about 10 dl of the flour mix and 2 dl of the almond flour. I then added some more flour mix and almond flour until I was satisfied.

Filling

  • 150 g butter (+- some) I usually take out the butter at the start, because the dough will be sticky and break easily if the butter for the filling is to hard.

  • 1 dl sugar (less if you want less sweet, or more if you want sweeter of course)

  • 2 tbsp cinnamon (or more if you prefer)

  • 1-2 eggs to coat the buns before you add pearl sugar onto the buns

  • Put them in the oven at about 480 ℉, 8-10 minutes.

I always start by melting the butter and adding the milk. This solution should get to about 110 ℉ (according to my specific yeast) and once it hits that temperature I pour it into a bowl and add the yeast (I use the active dry yeast from the glas container). I usually let it sit together for a couple of minutes before I add the agave syrup, cardamom and salt. I mixed the Perfect flour blend with the almond flour in a separate bowl and then added it to the milk solution slowly while while stirring with a spatula. 

When you bake gluten free treats or bread the dough is nothing like a wheat dough, its a lot more loose, and I decided to add some more of the flour blend and almond flour until it felt good (don't ask me how I judged this but I just went with my gut). I left it to rise for about 30 minutes.

When the dough was done rising I took it out on the table and cut it in half. The looser dough also makes it trickier to roll out with the rolling pin but it works. I would recommend rolling out the dough on either parchment paper or on silicon mat, because it will save you a lot of headache later on when you are suppose to start rolling the bun. I love making twisted buns, but you can forget about that when you are making these buns. The rolling of the dough can be hard, because the dough is so sticky but with a gentle hand you can succeed.

After you roll out the dough in a nice thin rectangular shape it's time to add the filling. I use a spatula and add the butter over the whole rectangular dough. Then I sprinkle the sugar, and then the cinnamon. The very last step is to roll up the dough, from the long side. Be careful here too because he dough do break easily. After this step I cut about 3 cm thick pieces and put them on  a parchment paper on a baking sheet. Repeat with second half of the dough.

Unfortunately, or maybe I should say fortunately I forgot take pictures at each step, but here are a few of the ones a took. 

Anyway, they were delicious, and my mother in law agreed! So I would say that they were a success. They might not look much to the world, but they taste amazing!

Do you have any favorite gluten free recipe?

Let's get Fired Up - Fireweed

Flashback Friday

Fireweed

    Last year I finally tried making fireweed jelly, and I can not believe I haven't done that before. Now, when I am not in Alaska, I regret it even more. Anyone who has ever ventured out in the far north has probably seen these majestic beautiful and colorful signs of summer, Fireweed. Although Forget-me-not is officially the state flower of Alaska, I personally think they should have picked Fireweed as the flower. 

Preserving Summer    

    When you live in Alaska you become a different person, physically and mentally, weather you want to or not. Along with all the skills I have acquired comes the joy of preserving the summer. Summers in Alaska are so short, and you better catch it in a jar before it's over. They say, when the fireweed start to bloom, summer has official arrived. On a more sad point, when the last flower of the fireweed has bloomed, summer is officially over. Fireweed bloom from the bottom up and the top flowers are the last to bloom before they too fall off. 

Picking Petals

    Before the end, the end of summer and short life of fireweed, you can take opportunity to pick the petals. It's tedious, but oh so delicious in the end, and they are beautiful.  You want to pick the petals when the flowers are in bloom, which means that you'll probably start to pick the bottom ones. You don't want to pick the petals from the flowers that are already past full bloom, the flavor wont be as spectacular. You also don't want to pick the buds, of course, because they will give the jam/jelly a bitter taste. And YES, ONLY the petals.

Disturbance Driven    

    Fireweed usually appears after a disturbance, like a fire, and it grows really well, like a weed. Step one is definitely to find a place where fireweed grows, far away from pollution of course as always when you are going to eat something from nature. They grow all over Alaska, and of course the circumpolar boreal forest, including Sweden. The best would of course be to find a whole field full of fireweed, so you can spend some time at one location. After that, you just have to be patient.. As I mentioned, picking the flowers is very very tedious, but extremely relaxing.

The Boreal Herbal   

    I have a gorgeous book named "The Boreal Herbal", that's where I get all my recipes that includes ingredients from the far north. I made quite a lot of fireweed jelly, and man it was good. That on a piece of cracker or bread along with some brie. YUM! I tweaked this recipe a bit, because it called for quite a lot of grape juice, and I didn't really want the grape juice itself to take all the control. Fireweed jelly is actually really interesting, you definitely get the flowery taste at the end. What you'll need is obviously a lot of fireweed petals, at least 2½ cups. You can also google the internet and there will be quite a few recipes of this, not many, but a few. 


    Boreal Herbal, original recipe:

    • 2½ cups (625ml) of fireweed petals, fresh or dried
    • 2 cups (500ml) of water
    • 2 cups (500ml) of cane sugar
    • 1/2 cup (125ml) of white grape juice
    • 1/2 cup (125ml) of red grape juice
    • 1 package (57g) of powdered pectin
    • 2 tbsp (30ml) of rosewater (optional)

    Day 1

    You want the lovely fragrance to leave the petals, and to do this you have to:

    1. Take about 2 1/2 cup of petals and put them in a pot.
    2. Add at least 2 cups of water. If you do less the flavor will be more concentrated and more, well the flavor will be more dilute.  
    3. Add about 1/4 to 1/2 cup of sugar (depending on how sweet you want it and also what type of pectin you will be using in the end) 
    4. Bring to boil, and reduce heat and simmer for 5 minutes before you remove the pot from the stove.
    5. Leave the mix in the fridge over night.

    The flowers will change colors so don't freak out, they will become more bluish. 

    Day 2

    1. Strain the mixture to leave out the petals from the liquid. Add the liquid to a pot, add the grape juice. I used less grape juice than what the recipe called for, about 1/2 cup in total of the white grape juice (If I remember correctly)*.
    2. Add the pectin (here you need to follow the recipe on the pectin bottle, because it is important that you get the amount of sugar to liquid correct, there is a "less sugar" pectin you can buy too).
    3. Boil hard for about 1 minute
    4. Add the rest of the sugar and stir. (the recipe calls for a total 2 cups of sugar, you add some of this to the first step when you get the fragrance out of the petals, and the rest to the second step).
    5. Boil the mixture for about 1 minute again before you remove it from the heat. 
    6. Test the jelly. Take a teaspoon of the jelly and put it on a plate, let it cool down and watch for "wrinkles" on the jelly, or rather is the jelly jelly like? You can continue to boil 1 minute at a time until you get the perfect jelly softness for you.

    I did not add any rosewater to my jelly, so I don't really know how it tastes with it. 


    *The original recipe called for 1/2 a cup of white and 1/2 cup of red grape juice. Now, why grape juice? Honestly I never tried it without the grape juice, but I have tried the liquid, and it's very flowery. This is why you need to balance the flavor a bit. Now, if you try the liquid and like it, by all means, DON'T add the grape juice, add some water instead, but remember that it will dilute the flavor a bit. Yes, the grape juice will almost take over the flavor a bit, but after a few seconds in your mouth you'll get that wonderful flowery taste to it.


    Canning

    • Sterilize your jars and lids in boiling water in a large pot,
    • while they are still hot pour the jelly into jars, not too much
    • wipe the rim and add the lids, screw on the screw top finger tight, 
    • down into the boiling water again for about 10 minutes or so, 
    • take the jars out, let them cool and wait for the magic "snap"

        If you live in the north and wonder what cook book you should purchase next? Do you wonder how you can learn about everything you can make from the lovely boreal forest? These two books below are a must have: The Boreal Herbal and The Boreal Feast:

        I still have two jars of dried fireweed, it still smells like an Alaskan summer. Do you have a favorite recipe of any herbs, jams or alike?