Posts tagged #blueberry

It all Started Here

IMG_2885-July 23, 2019-2.jpg

Finally a Summer at the Summerhouse

There is a place up north where I spent all my summers as a kid. It’s right by the water, surrounded by the deep pine and spruce forest. Just like many other Swedish summerhouses this one is red with white borders. My grandpa started building it 1950, and it was finally done in 1955 after a couple of setbacks. Not a single day is the same up there, sometimes you can’t see the other side of the bay because of all the mist, and other times the whole water body is clear as a mirror as you watch the sky turn pink when the sun sets. Sometimes, in the middle of the night you can watch the lightning penetrate the water from the large panorama windows in the living room. Sometimes you can smell the summer rain in the morning or that strong and sometimes overwhelming smell of labrador tea if you are out on the mire.

This is where I learned the names of the different plants that are common in the boreal forest. That same knowledge that brought me to Alaska and then later on gave me free trip to Nome. Pine, spruce, labrador tea, fireweed, larch, birch and the list can continue in all eternity. This is where I learned when to pick the blueberries and how to make blueberry porridge. This is where I learned where the gold of the north grows, and the pain you sometimes have to go through to get those precious berries. But more importantly, this is where I learned how to swim, fish, and care about the nature.

IMG_2813-July 22, 2019.jpg

It’s a Fishy Business

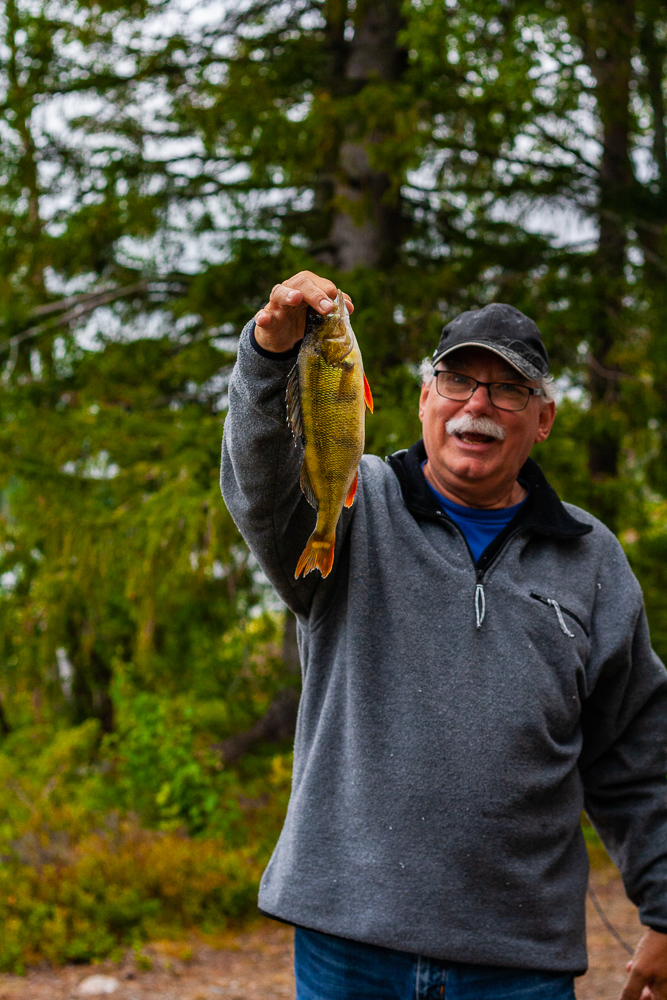
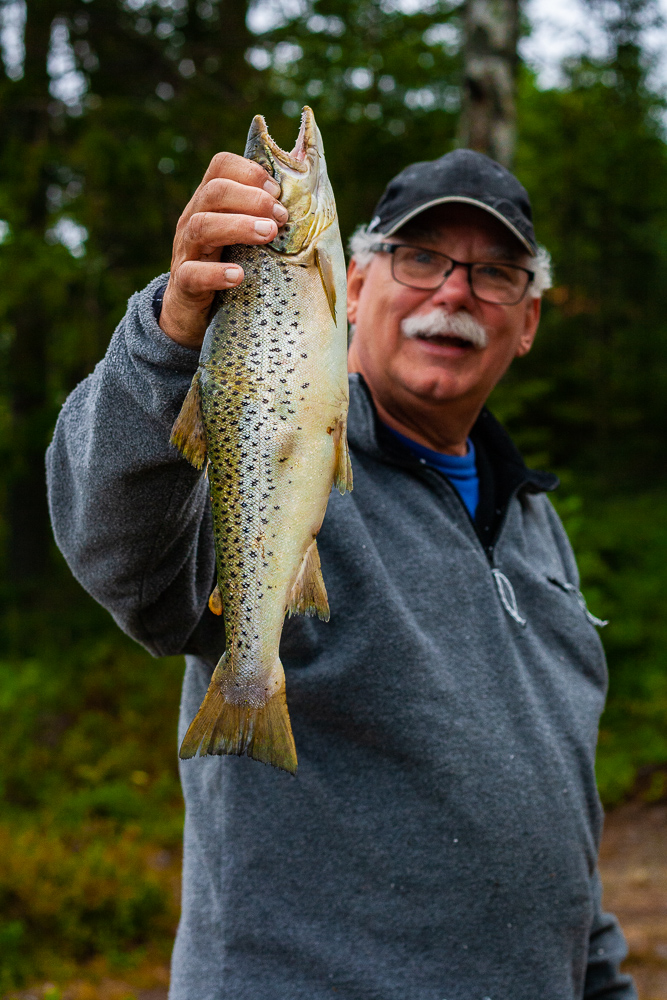
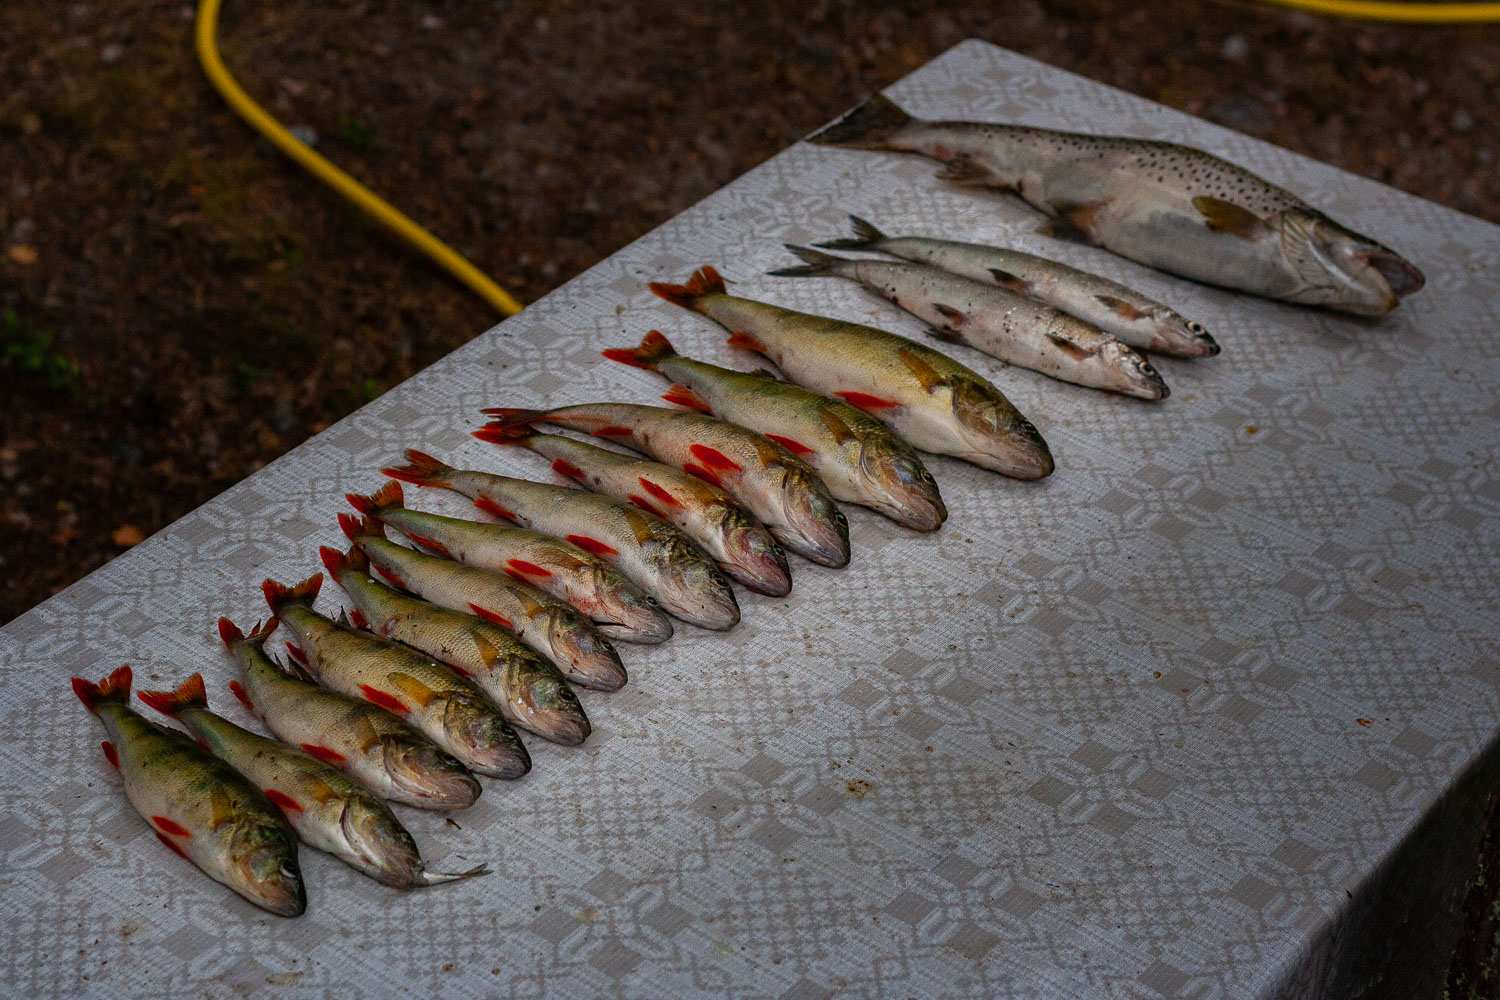
At the summerhouse our main food source was the fish. We ate (well i guess we still do) fish for breakfast lunch and dinner. In the evenings we would get the boat out and go fishing farther into the bay. Sometimes we took the boat out to the “black sea” as we used to call it, because it was so deep and the water was all black out there, and tried our luck with the fishing nets out there. That place scared me, but it was always a thrilling adventure to go all the way out there. Most often though we took the boat out and laid our fishing nets straight out from the shoreline. This became something that I helped my dad with a lot. Laying out the fishing net in the evening, and picking it back up early next morning, before the seagulls started to get into them.

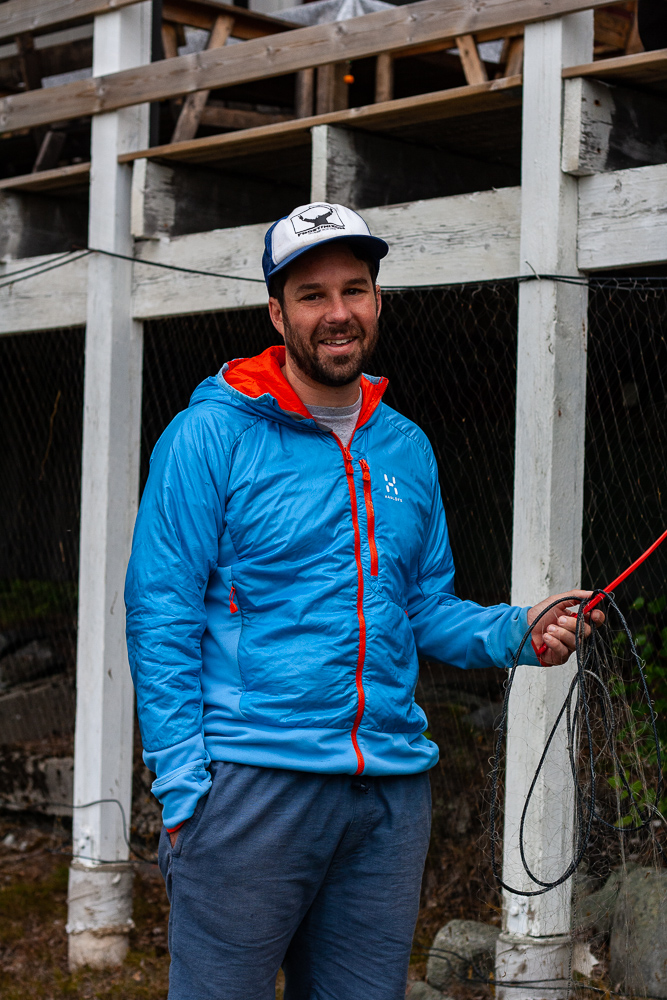
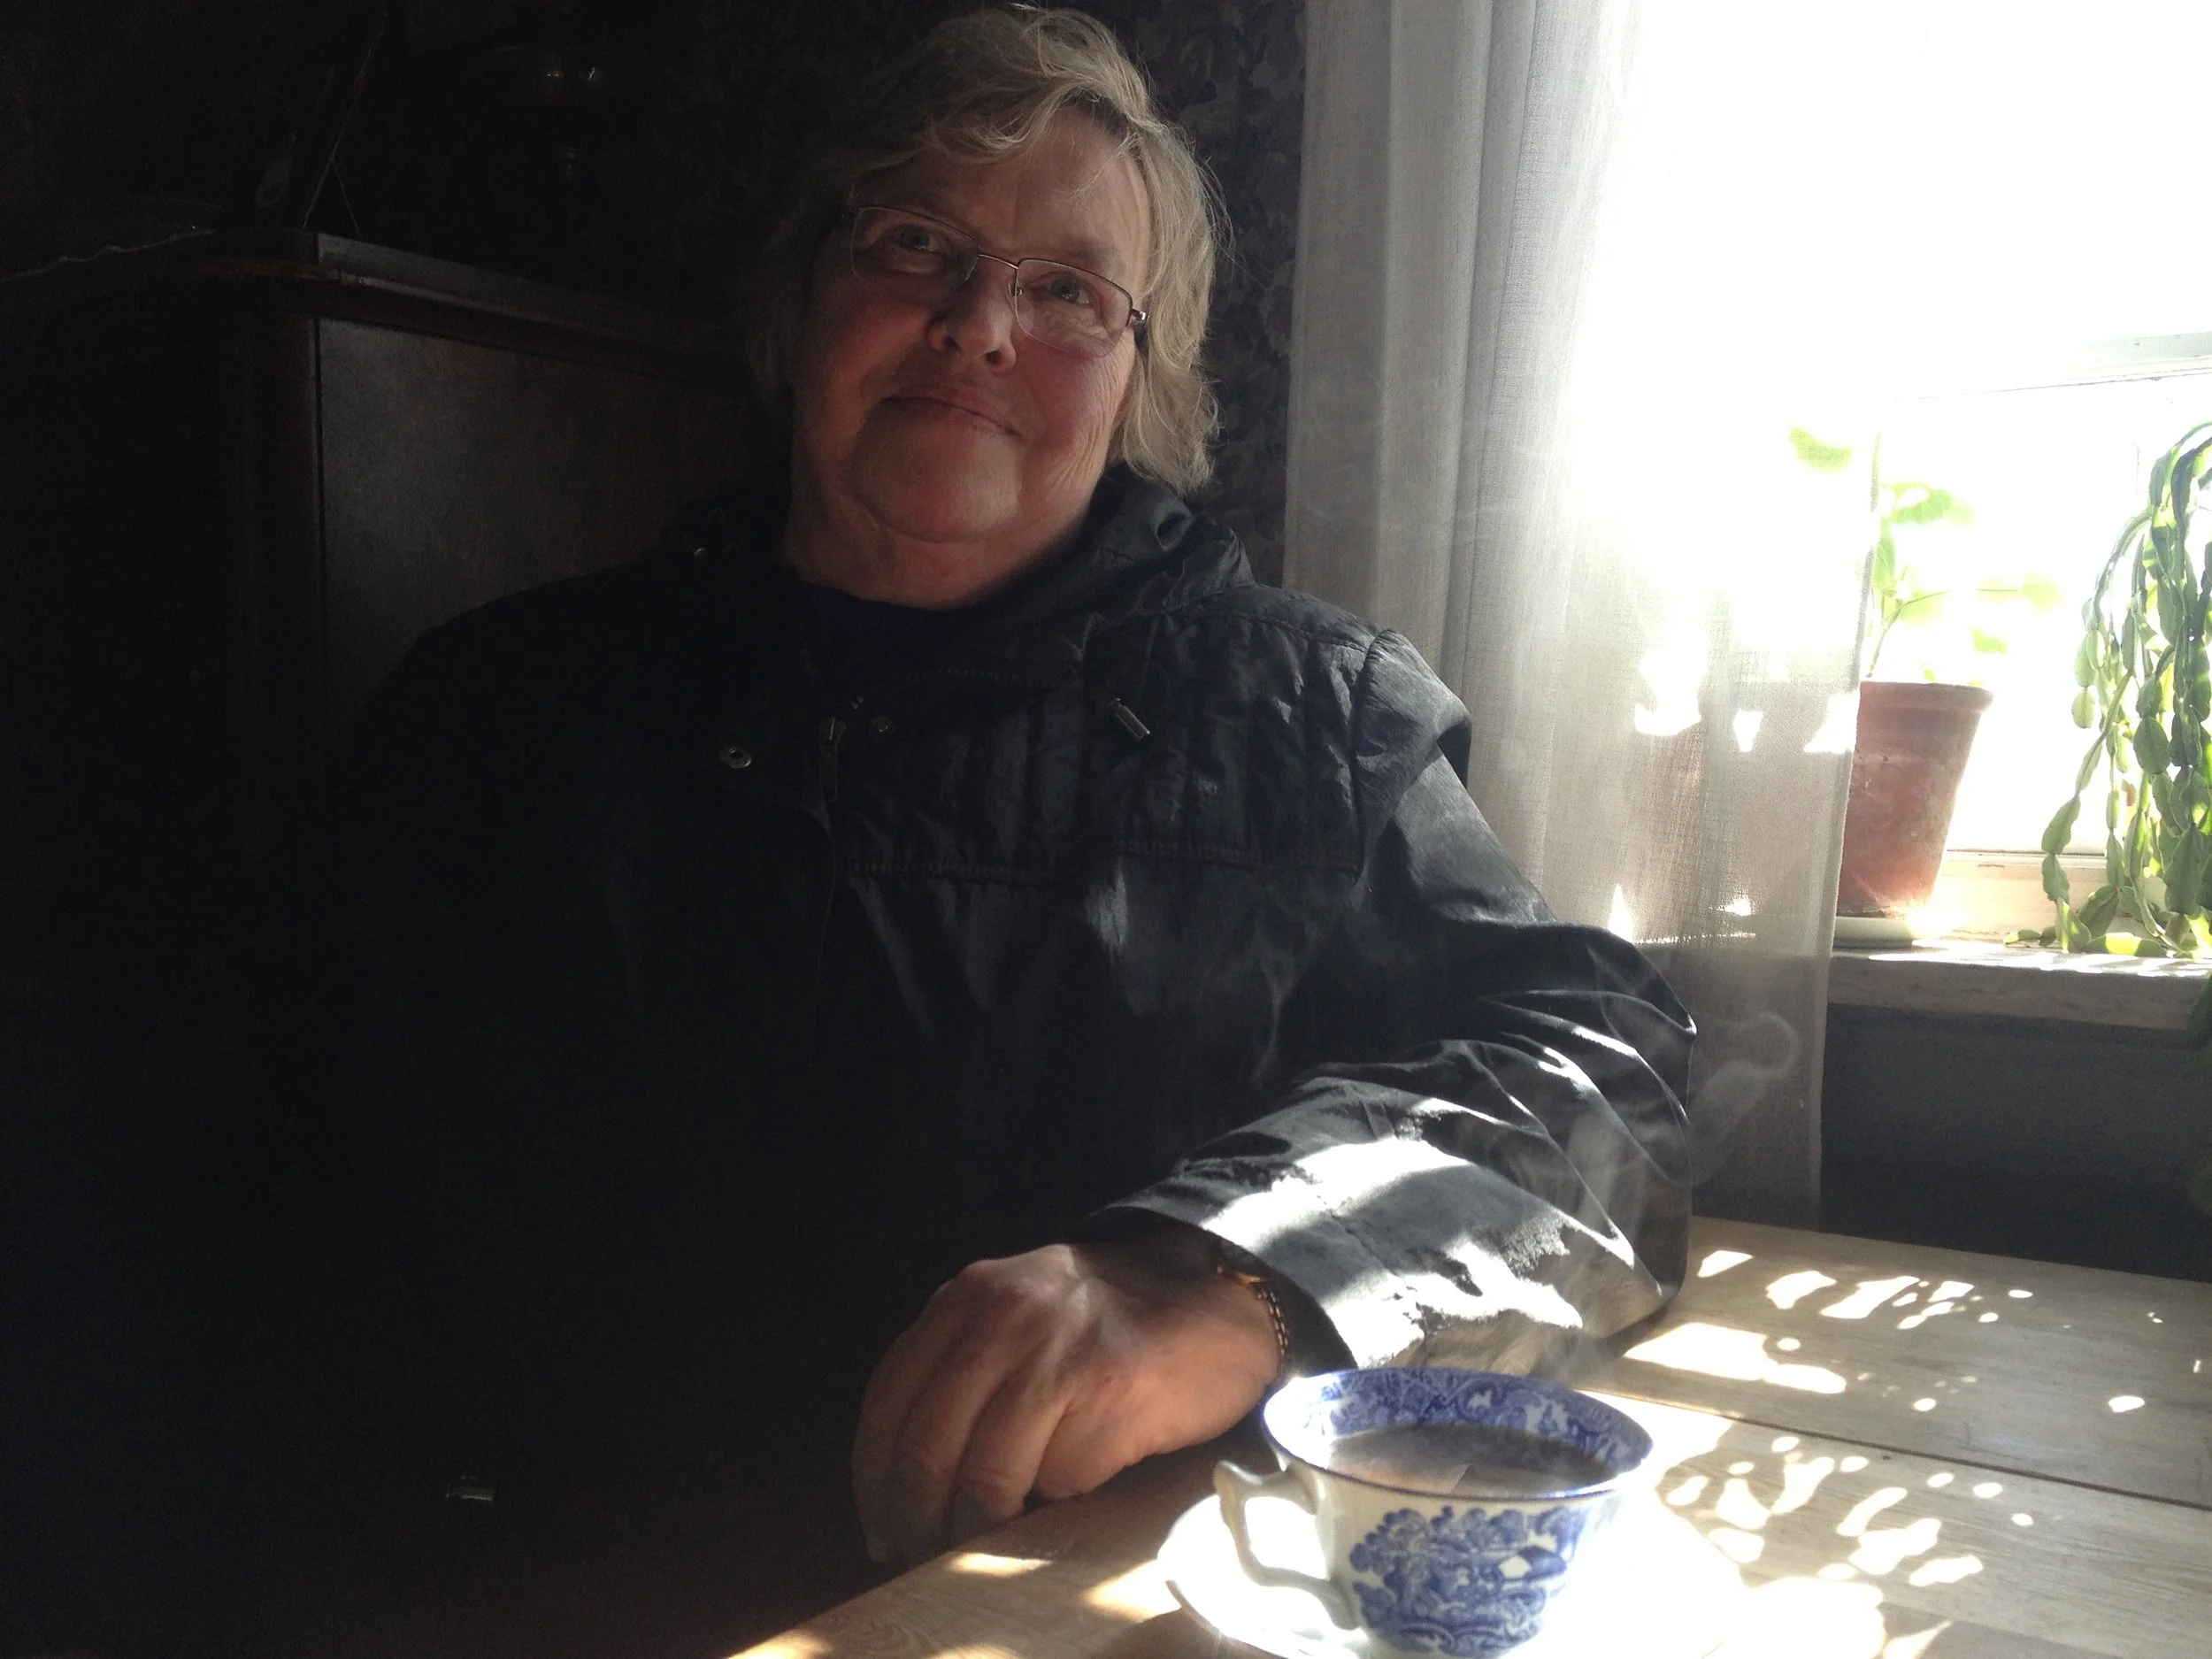
This summer W, his mom and aunt came with me to Sweden and the summerhouse. We had such a nice time and I loved that I was finally able to show them where my roots are. In the evening we all went out in the boat and put out three fishing nets and wished for the best.

As a fisherman, or fisherwoman the are no late mornings, and we got up early the next day to claim our bounty before the seagulls did.

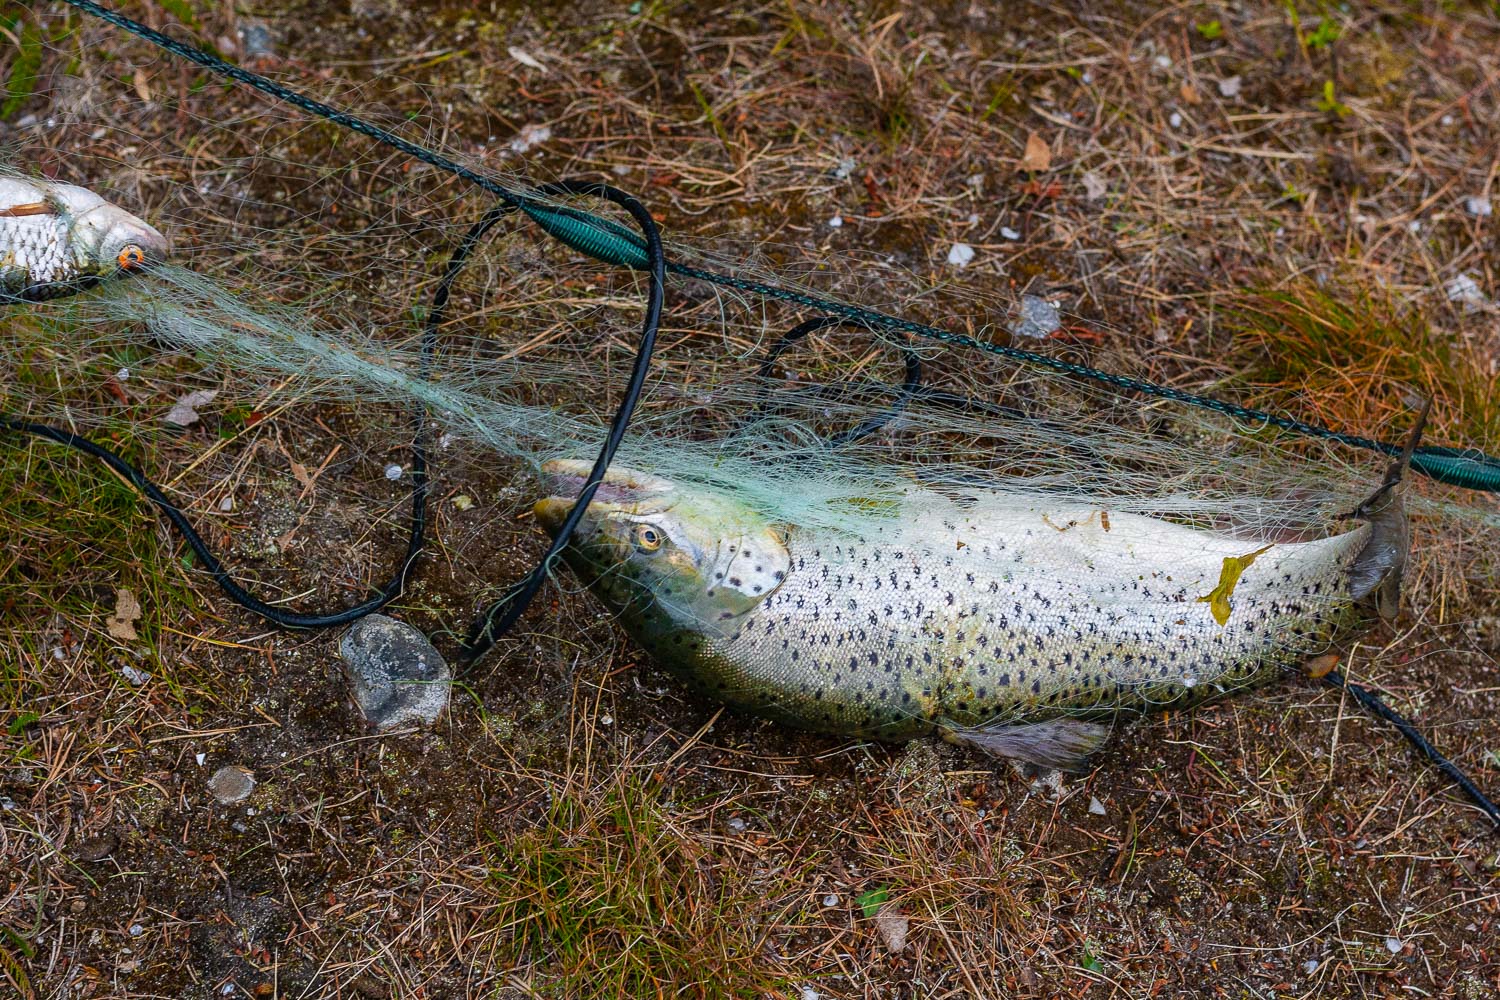
Once the nets are back up on dry land the tedious work begins. First, the struggle to untangle and remove the fish from the net, and second to clean the net.

My dad of course knows how to untangle the nets like the back of his hand. He is a man of many trades and being a fisherman is one. He easily balances around the stones by the beach before he pushes out the boat from the shore wearing his clogs, just as easy as he removes the fish from the net. He knows exactly how much or how little of the juniper you need to get that perfect smell and flavor of a smoked fish.

Life is calmer at the summer house, and maybe this is also where I learned to appreciate life. From now on a visit to the summerhouse will be on my bucketlist for every single year ahead. If you ever wonder how it is to feel rich, this is it. A freezer full of fish and berries, and everything else you can acquire from the land.

When I was young my mom taught me how to clean and fillet the fish, she was a master of this and one summer I became one too. That was a long time ago, and I can’t really remember how to do it. But every now and then when we buy whole fish I magically know exactly where to cut the fish to remove the bones. My dad was doing this job now, he claims he’s not good at it, that mom was the master. The more I think about it, the more I understand where my ability to prepare things from scratch comes from. It all started here.

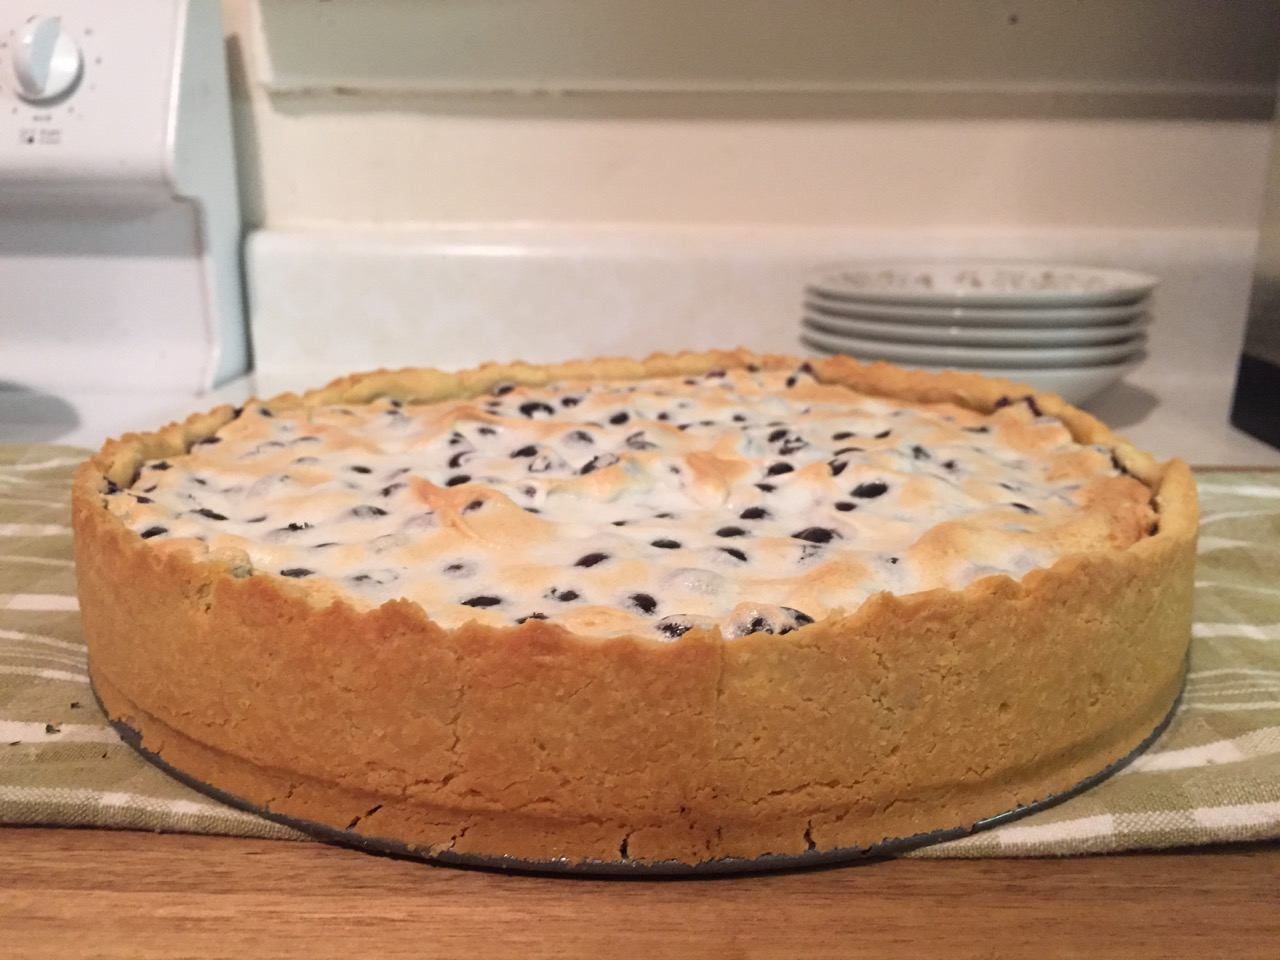
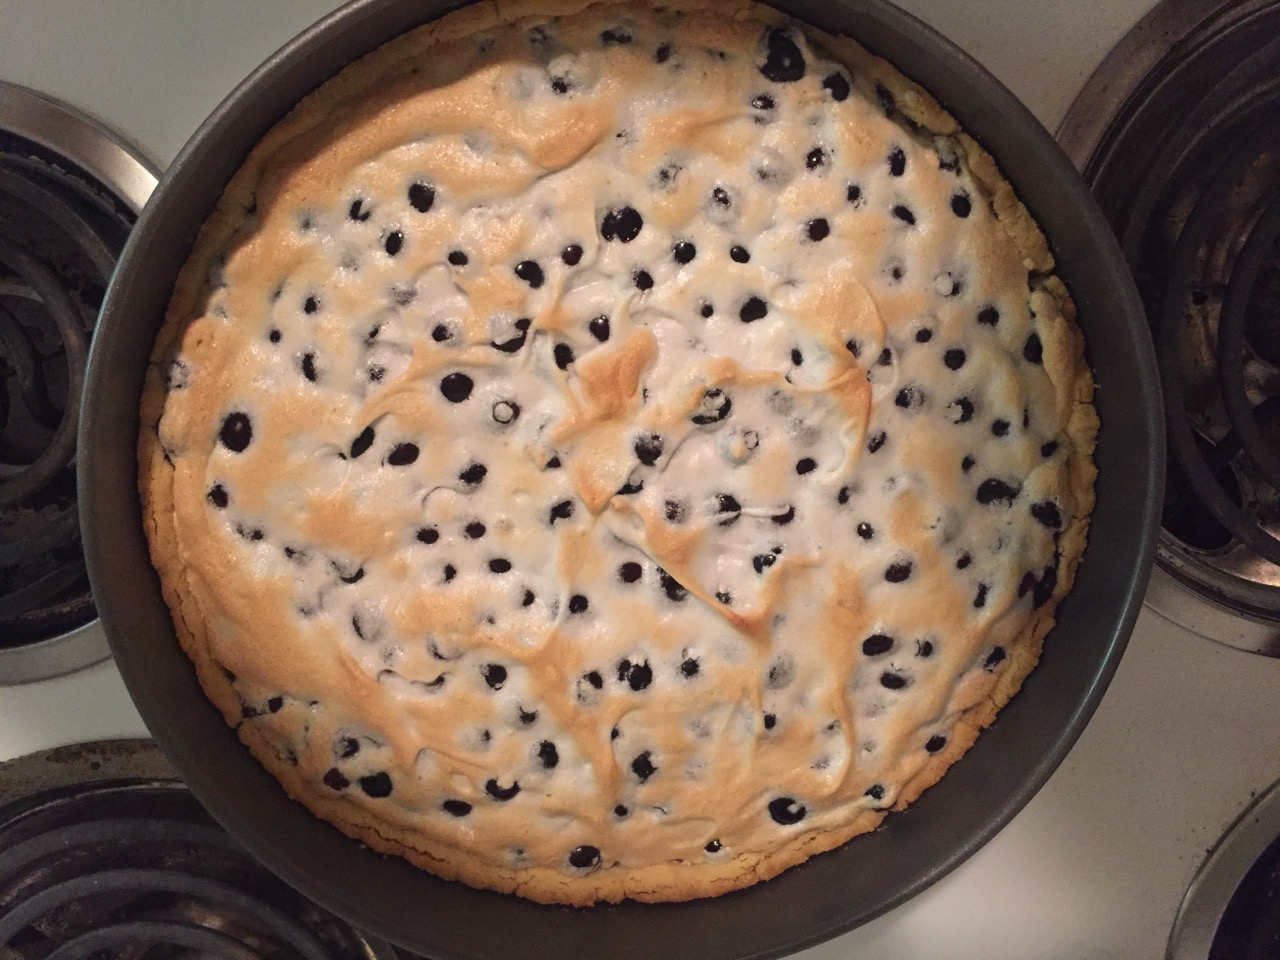
RECIPE: Gluten Free Blueberry Meringue Pie

I have not done a lot of gluten free baking, but I thought I should share some baked goods I made recently, gluten free. I have already posted the recipe for cinnamon buns HERE. My mom had been talking about a blueberry pie she had been making lately, and said it was really tasty. Now, unfortunately I don't have the same blueberries here as in Alaska. I know, bummer, like big BUMMER! I went to the store and bought blueberries (breaks my heart). I have to say though that I was positively surprised, they actually were pretty tasty, however, not even close to the wild ones, the arctic/boreal ones. For this recipe I just exchanged the regular flour with the Namaste Perfect Flour Blend and almond flour.
When I make a piecrust I usually take out the butter and let it sit for a little bit on the counter so it's easier to mix it with the flour. 

This recipe only has 7 ingredients, including two different types of flours, I know, AMAZING! 

Gluten Free Blueberry Meringue Pie

Pie Crust

  • 150 g butter  
  • 2 ½ dl Namaste Perfect Flour Blend (more if the dough feels to loose)
  • 2 dl Almond Flour (more if the dough feels to loose)
  • pinch of salt
  • 3 egg yolks (SAVE the whites for the meringue)

Meringue filling

  • 3 egg whites
  • 1 dl sugar
  • 1 L blueberries

Set the oven temperature to 430-440 ℉ (220-225 ℃).

Mix the two different flour mixes and a pinch of salt. Add the butter in pieces and the egg yolks and either mix it by hand or with a food processor. Take the dough and press it out in a springform or pie pan. Try to make it equally thin all over and make sure you have about 3-5 cm of crust up the sides. 

Bake the pie crust in the oven (430-440 ℉ (220-225 ℃)) for about 10 minutes. While you are baking the pie crust, whisk the egg whites hard. You should be able to turn the bowl upside down without loosing any of your egg whites. Add the sugar and whisk for a couple more minutes. Add the blueberries to the mix and transfer it into the piecrust. Bake for about 10-15 minutes until the meringue has gotten some color. Turn off the oven and let the pie sit in the oven for a few more minutes. 

Pretty easy eh, and the crust is completely gluten free!

RECIPE: Gluten Free Swedish Cinnamon Buns

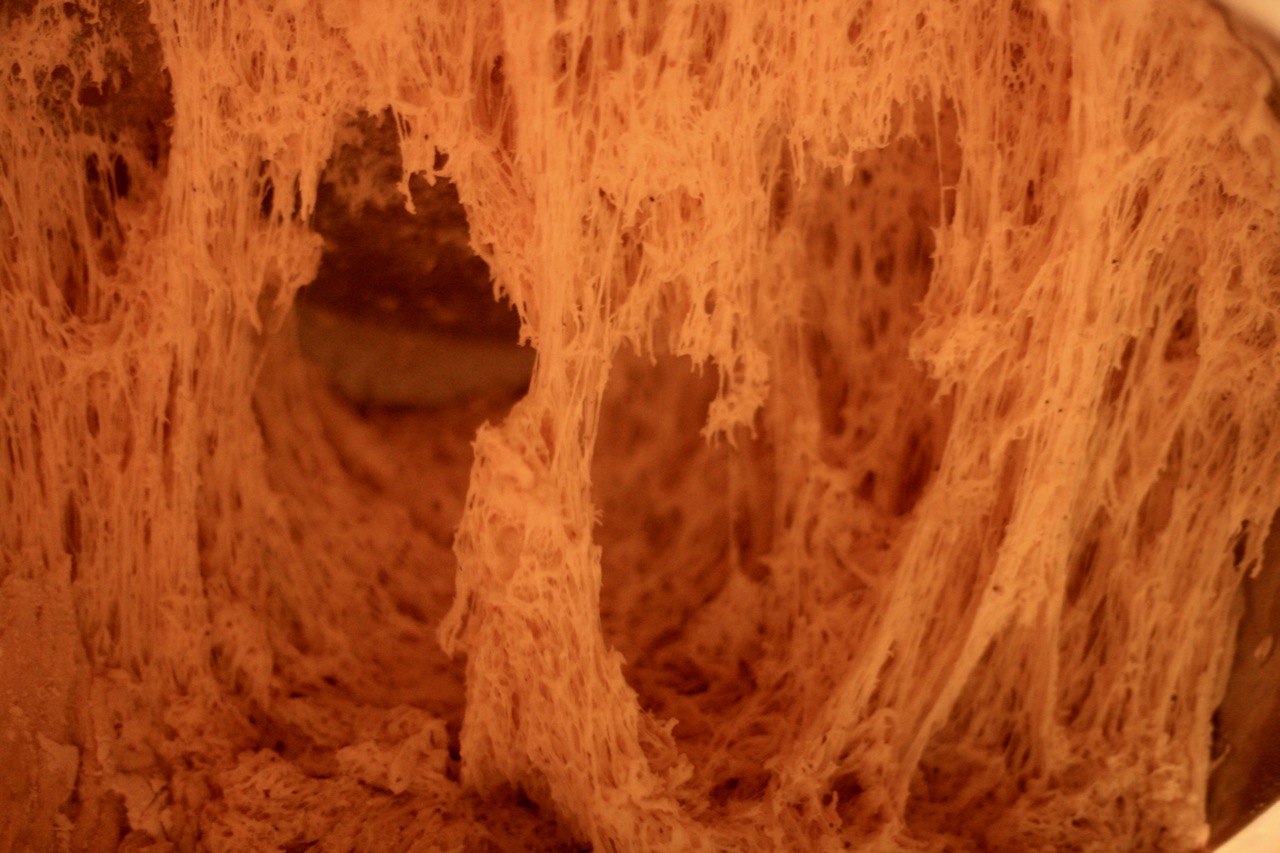
Last christmas I made gluten free products for the first time in my life, and as an avid baker I have to say it was challenging. But, I am not the one who give up that easy. My mother in law is allergic to gluten, which is why I have started to experiment in the gluten free world. (If you want o make the cinnamon buns WITH gluten you can find the recipe HERE!)There are many Swedish treats that have been converted into gluten-free goodies, using specific Swedish brand gluten-free flour. There is a jungle out there with gluten free products, and it just keep growing. There are a certain must haves in the flour mix which I think most brand have for instance xhantan gum and some type of starch. Usually when you bake wheat products, the gluten is what is broken apart when adding yeast (along with other things, like starch), and therefore the typical dough with those visible threads that makes the dough so elastic wont form.

Personally I feel like it's a hit or miss when it comes to gluten free baking, and I have yet to absolutely succeed, if there really is a magnificent mix that will mimic the wheat flour and it's specific molecules and characteristics that creates the rising of the dough.

I have seen many Swedish recipes calling for specific brand names, that I can not find in the US, because they are Swedish, or from some other european country. We do have lots of flour mixes here in the states, but they don't always seem to have the same ingredients. In Sweden some gluten free mixes seem to be similar to what we have here, but many of the mixes do have a tiny bit of gluten in it, so in theory they are not gluten free. 

Either way, I went to the store (no actually W went to the store... :)) and bought the Namaste brand Perfect Flour Blend, and some almond flour. Namaste flour blend mainly consist of rice flour. Now, these flour mixes are so expensive, and if I knew how much of of each ingredient to use, I would probably make my own flour mix, but I didn't have time for that now. I found a cinnamon bun recipe HERE. They used THIS flour mix but you could also use THIS

Gluten Free Swedish Cinnamon Buns

  • 100 g butter

  • 5 dl milk (or water) I used milk

  • 50 g yeast, which is equal to about 4 - 6 ½ teaspoons of active dry yeast that you usually buy in the US

  • 1 dl sugar (I always use agave syrup when I make baked goods)

  • ½ tsp salt

  • Cardamom, I use a lot!

  • 14 dl Lailas blå or 12 dl Lailas gul Mjölmix is what they called for but this is where I used the Namaste flour mix, and some almond flour. To be honest I can't remember exactly how much of each I used, but I think it was about 10 dl of the flour mix and 2 dl of the almond flour. I then added some more flour mix and almond flour until I was satisfied.

Filling

  • 150 g butter (+- some) I usually take out the butter at the start, because the dough will be sticky and break easily if the butter for the filling is to hard.

  • 1 dl sugar (less if you want less sweet, or more if you want sweeter of course)

  • 2 tbsp cinnamon (or more if you prefer)

  • 1-2 eggs to coat the buns before you add pearl sugar onto the buns

  • Put them in the oven at about 480 ℉, 8-10 minutes.

I always start by melting the butter and adding the milk. This solution should get to about 110 ℉ (according to my specific yeast) and once it hits that temperature I pour it into a bowl and add the yeast (I use the active dry yeast from the glas container). I usually let it sit together for a couple of minutes before I add the agave syrup, cardamom and salt. I mixed the Perfect flour blend with the almond flour in a separate bowl and then added it to the milk solution slowly while while stirring with a spatula. 

When you bake gluten free treats or bread the dough is nothing like a wheat dough, its a lot more loose, and I decided to add some more of the flour blend and almond flour until it felt good (don't ask me how I judged this but I just went with my gut). I left it to rise for about 30 minutes.

When the dough was done rising I took it out on the table and cut it in half. The looser dough also makes it trickier to roll out with the rolling pin but it works. I would recommend rolling out the dough on either parchment paper or on silicon mat, because it will save you a lot of headache later on when you are suppose to start rolling the bun. I love making twisted buns, but you can forget about that when you are making these buns. The rolling of the dough can be hard, because the dough is so sticky but with a gentle hand you can succeed.

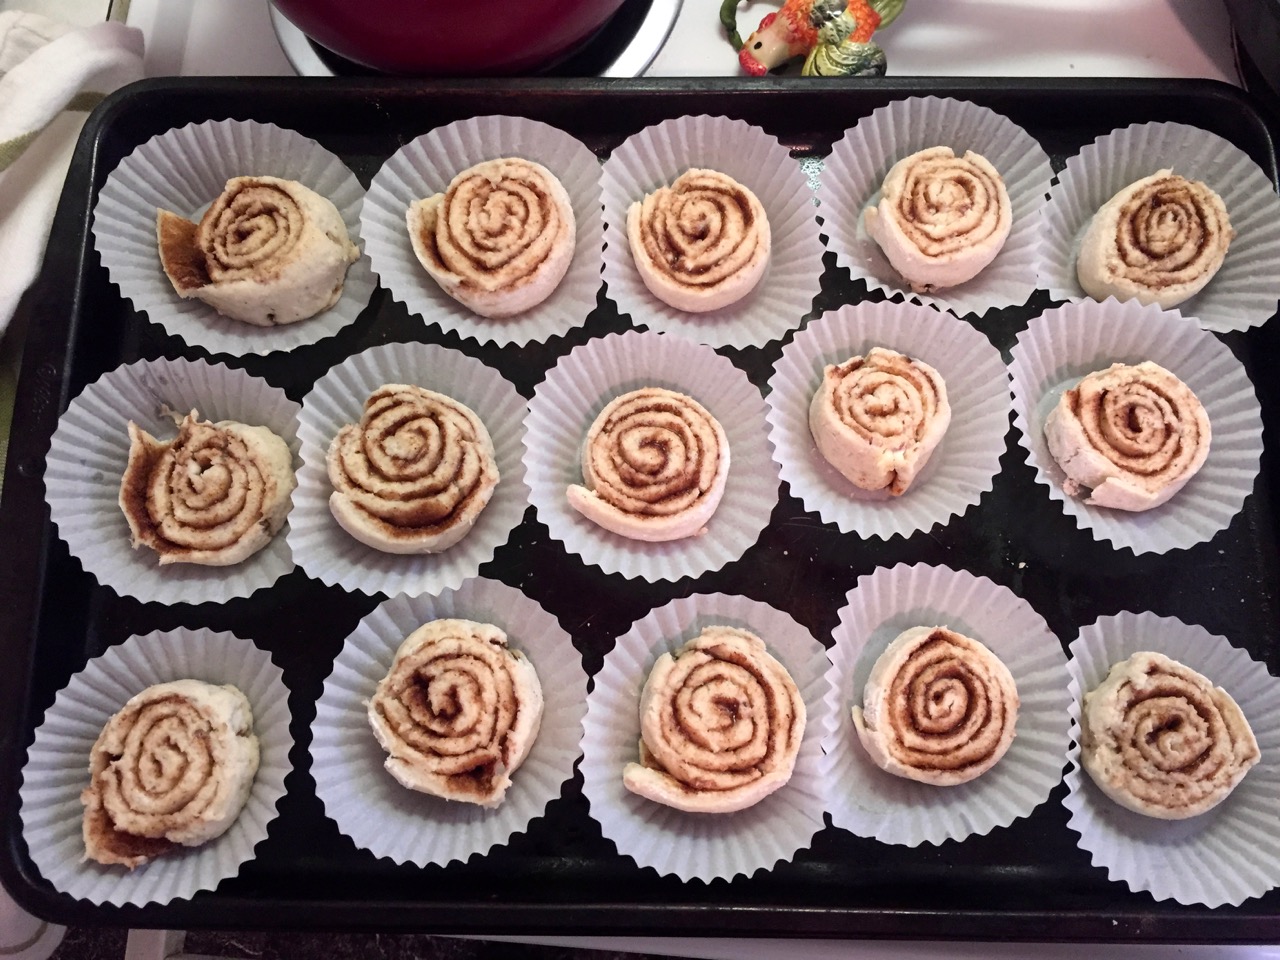
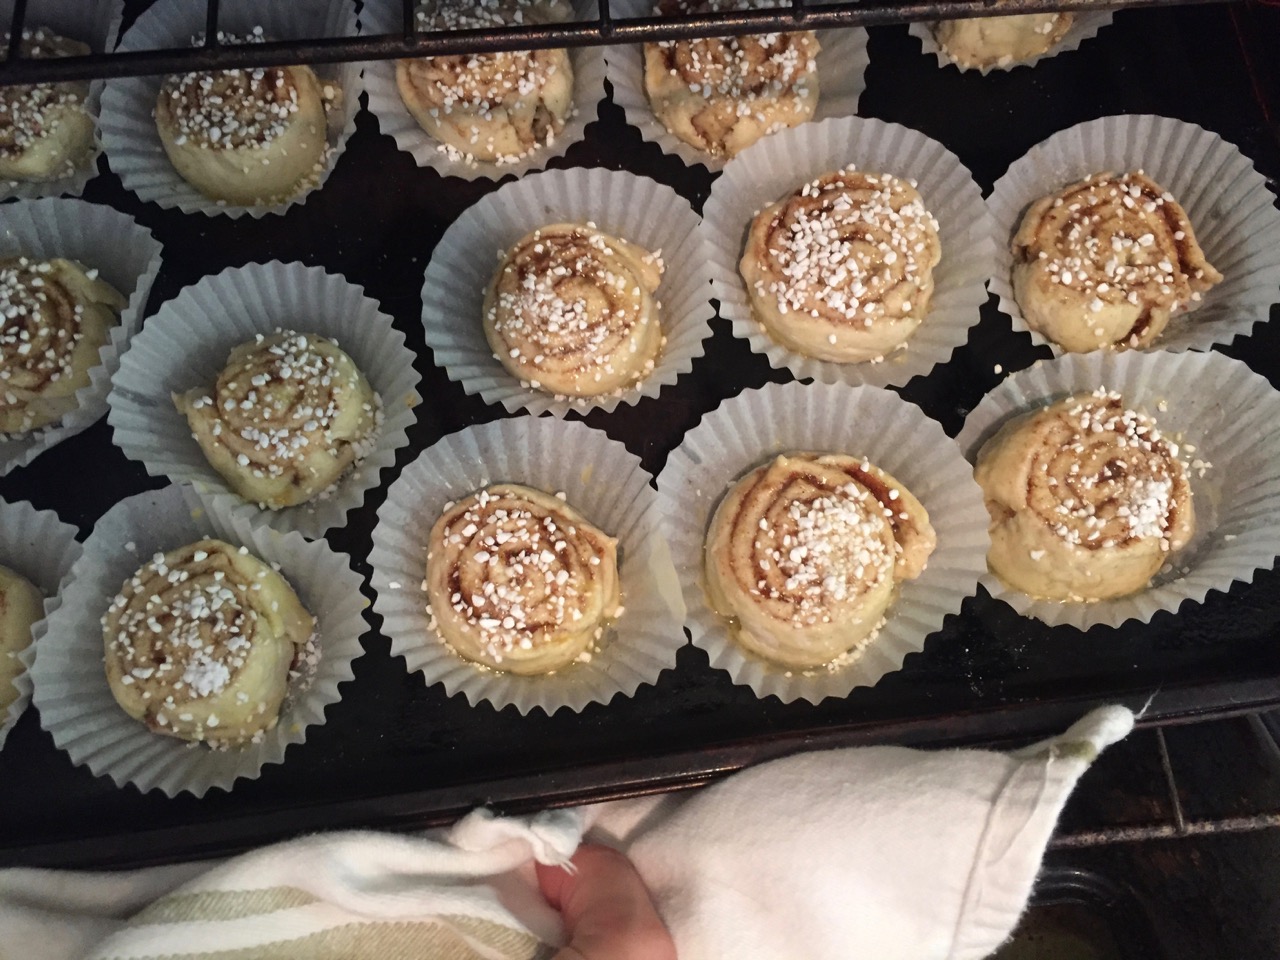
After you roll out the dough in a nice thin rectangular shape it's time to add the filling. I use a spatula and add the butter over the whole rectangular dough. Then I sprinkle the sugar, and then the cinnamon. The very last step is to roll up the dough, from the long side. Be careful here too because he dough do break easily. After this step I cut about 3 cm thick pieces and put them on  a parchment paper on a baking sheet. Repeat with second half of the dough.

Unfortunately, or maybe I should say fortunately I forgot take pictures at each step, but here are a few of the ones a took. 

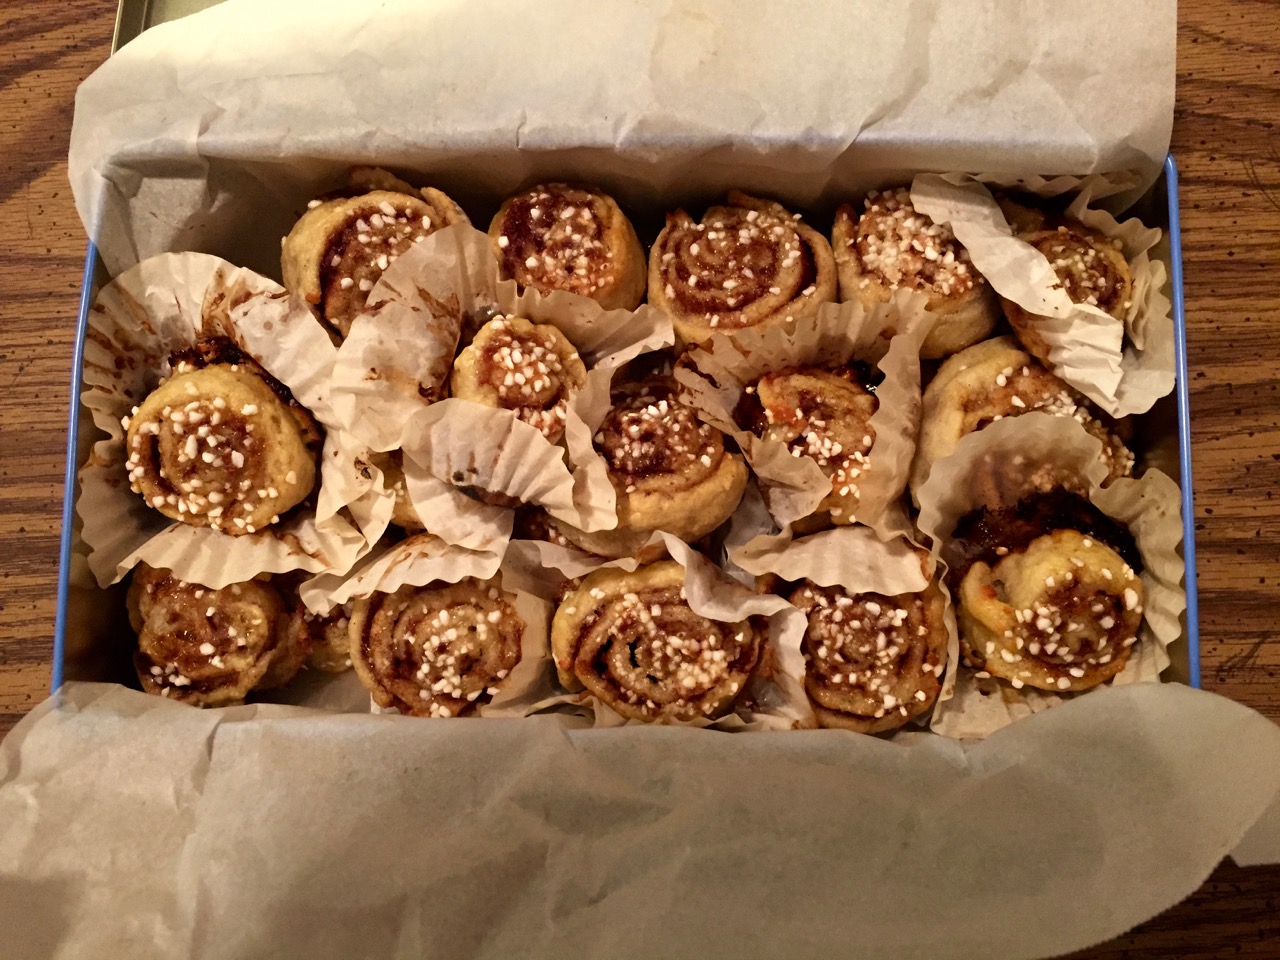
Anyway, they were delicious, and my mother in law agreed! So I would say that they were a success. They might not look much to the world, but they taste amazing!

Do you have any favorite gluten free recipe?